
3/14/2003
Finishing up the Bottom
The glass work on the bottom has finally come to a close. I would have posted an update sooner, but to be honest, the plane hasn't really looked much different during the last few months.....just more layers of glass, and more filling and sanding between them. But as of this update, the bottom is now up to point of being ready for primer. Next up, we are going back to the top, and getting it caught up to the same point. Next, I'm going to set the entire main fuselage plug aside, and start working on the smaller pieces. There are many pieces to finish up, and still make, such as the turkey feathers, elevators both inside and outside, ducting pieces, inlet spikes, vertical fins, and their roots. Since fiberglass mold making is new to me, I thought it best to learn on the smaller pieces, before putting the big fuse plug at risk. Also, learning how to build up the surface detailing to carry through nicely onto the molds will be easier to learn on the smaller parts as well.
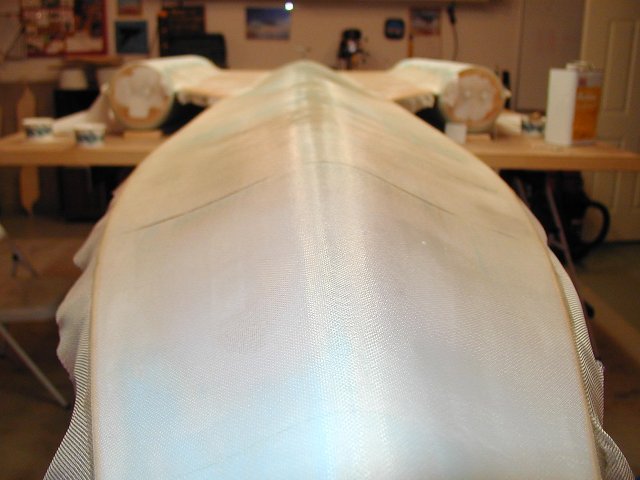
Anyhow, on to the current update pics. Below are another couple shots of yet more glass work on the bottom. Things are really starting to shore up, as the fuselages are tied together by both the wood decking and now glass.
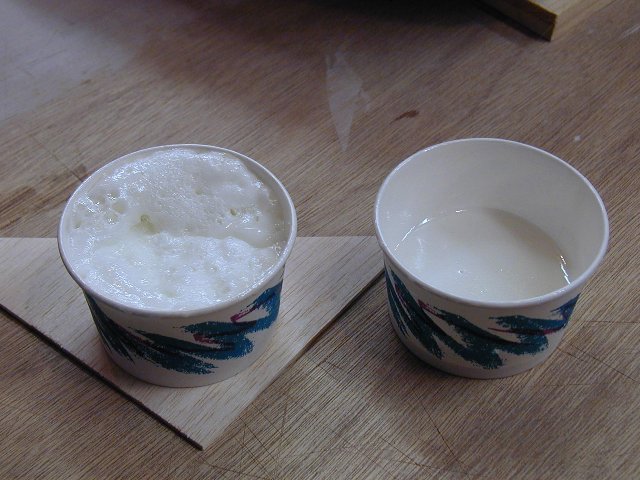
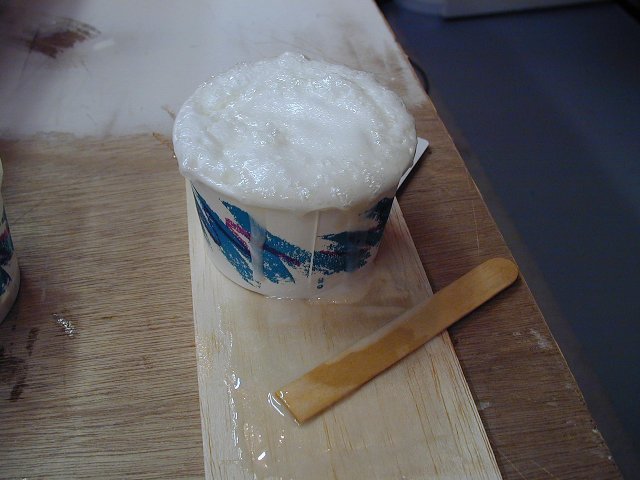
As we have now got quite a bit of time under our belts working with the West System epoxy, I continue to be amazed at this material. You can mix different additives to it, to really tailor it to your needs. We are learning the techniques, and we've gotten better at 'scrapping' the excess off to both improve weight, and to cut down sanding finish work after it cures. A cup of these scrapings, has a ton of air bubbles in it, so I don't reuse it on fresh glass, I just collect it in a cup. Epoxy can reach a point where it 'goes off'. As it cures, it gives off heat. The hotter it gets, the faster it cures. You can see where this is going. Once it reaches that break point, it really goes to town. The two cups here had almost the same amount of scrapings. One reached the threshold to go off, one did not. And, for as foamy as it looks, that thing is as solid as a brick.
The last layer to go on was a very light 1.75 oz per square yard cloth. This shot shows it laying on the plane, but no resin on it yet. That is why you see a few bubbles in the fabric, because it's not really stuck down. I took this shot with the lighting off, in the main shop, and with no flash, to try to take advantage of the sheen of new fiberglass cloth, and show you, just how good the progress is, in making a 13 foot airplane straight and true.
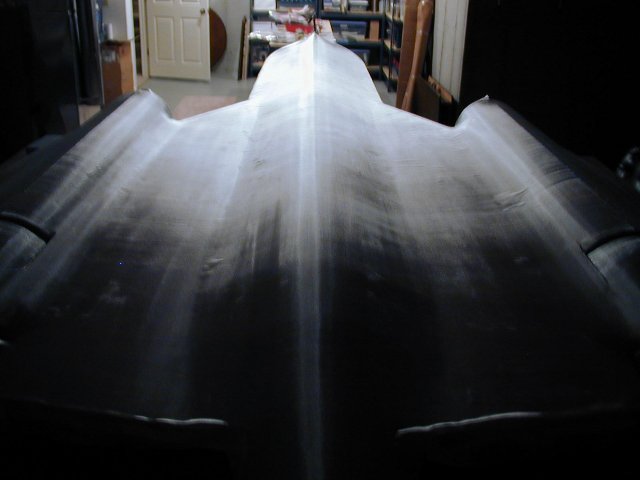
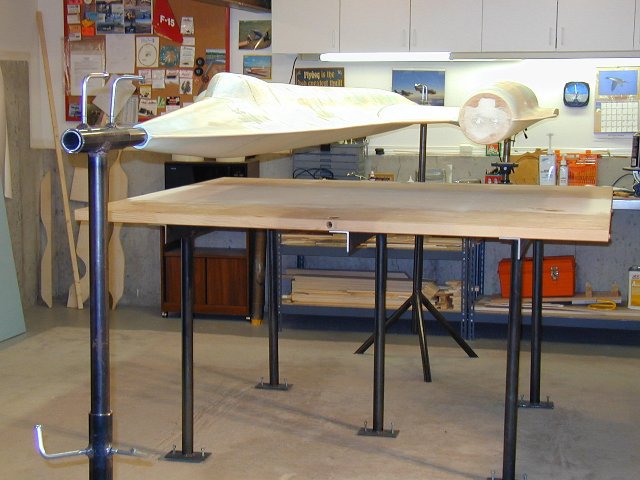
With the bottom done, time to go back to the top. There is only 1 layer of heavy cloth over the 3 fuselages, and none over the wood decking. Next, we need to do more filling, sanding, and get a 2nd heavy layer over all of the top, followed by the light cloth layer. With the plane turned back over, we raise it temporarily to clean the alignment table, and get ready for more cloth work back on top.
Head back to the Main Page