11/17/2003
First Original Plug Parts Nearing Completion....
As I've said before, now that most of the pieces are finishing up their final shape, I thought it best to take a few of them much further in the process to confirm the techniques in finish and mold making. This update shows the wing tips and the outboard elevator, which is interchangeable for both left and right side. As of now, I'm ready start making my first mold, which is going to be the outboard elevator.
Through these photos you will see a gray primer. It is called Duratec, and is a polyester based primer. This is amazing stuff. It has some negatives in that it gels very quickly...I mean you need to be cleaning your spray gun, and all finished, within 15 minutes of mixing it up. Let me tell you, that is fast. But on the upside, it is a single product that you can prime with, builds quickly, and fills great. I started with 120 grit to cut it fast for leveling my surface, then used 220, then 400, then 600, then buffed it with a mold polish and buffing wheel. The material has a very low porosity that lets you do all of this with just one finish product...neat stuff.
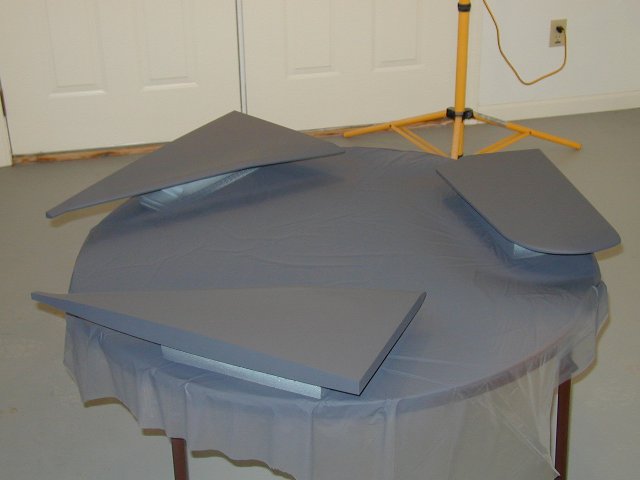
Initial primer on the 3 parts:
Sanding, Sanding, oh... and more Sanding. You'll also note a big sanding secret in the photo as well. Drywall sanding screens and blocks are absolutly wonderful sanding tools. The screen lets material build up, then just take a shop vac and suck it all back out. They last forever and simple don't build up material like sandpaper. 120 and 220 grits are what you'll find at the hardware store:

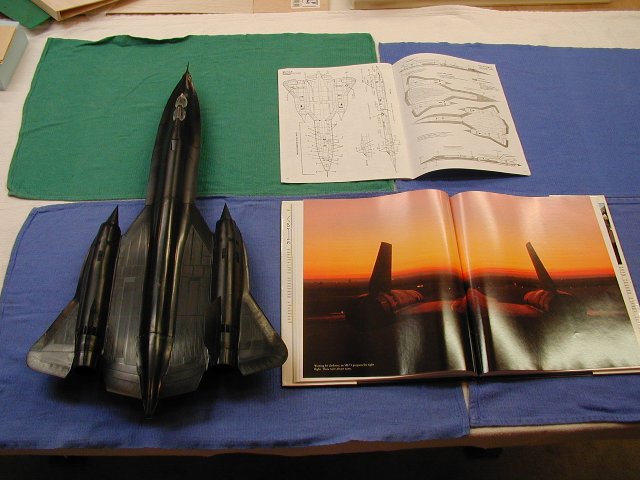
I built a 1/48 scale Testors model, to help in pannel line location. This particular model's lines are nearly dead on with the actual plane, as cross-referenced in my other source materal. Also, the scale is such, that mine is exactly 6 times bigger than this model, which makes for easy conversions:
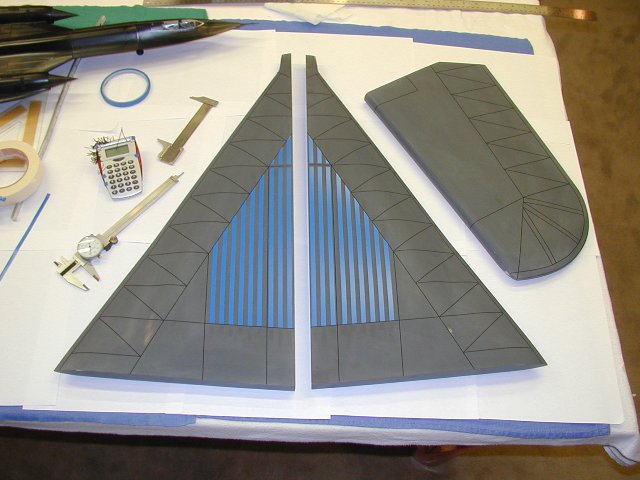
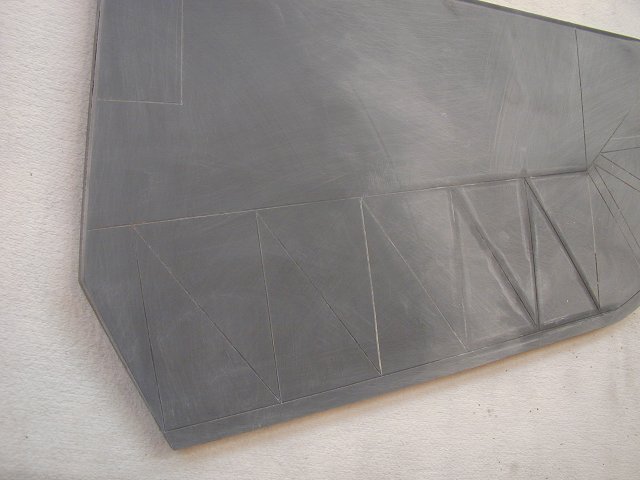
1/32 inch chart tape, and 1/4 inch 3m tape lay out the panel lines and define the corrugations in the appropriate panels in the flight surfaces:
I ran into an interesting problem when painting on top of the tape, which was knowing when to quit. What looked like in this photo as not enough paint turned out to be plenty thick:
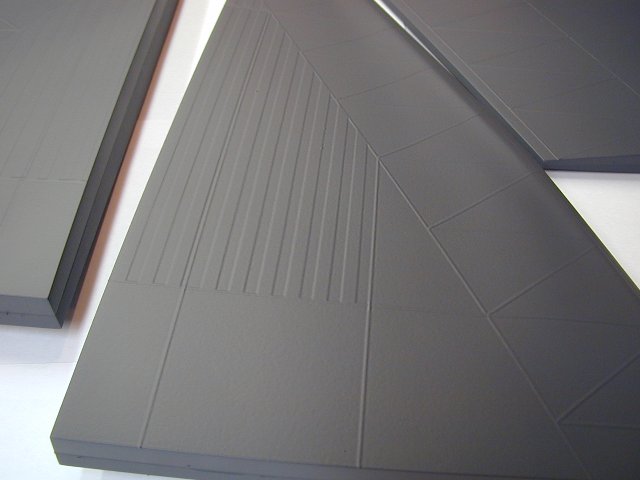
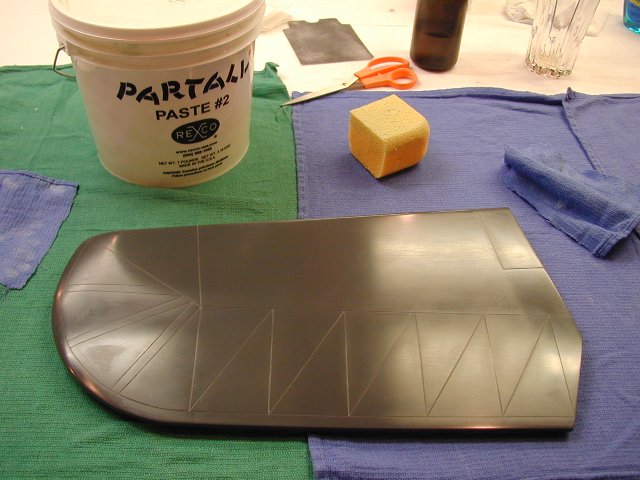
I sanded this down, and down, eventually removing all traces of these high spots. After yet more sanding, my lines started to show themselves once again. Unfortunately, getting the tape up out of the lines wants to leave a residue behind, which then needs to be cleaned and polished out of every line. No small amount of work:
Sanding done, buffed, and with a couple coats of wax. Now time to start setting up to make a mold :)
Head back to the Main Page