12/2/2003
Setbacks...
Well, I suppose that the reason I'm learning mold making on the smaller parts, is that mistakes will not have as big of an impact. The below shots document making a mold that is not usable. Close, but not usable. I did learn from several of my mistakes, and actually, the below sequence is what I'll use. I just need to modify my drying times and mold lay-up a little bit.
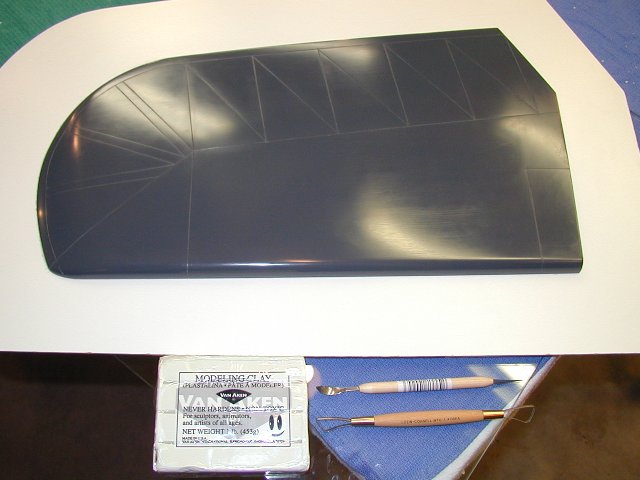
Setup of the initial 'fence'. This is Formica. I got a 4' x 8' sheet of it from Lowe's for $40, and it looks like it is going to work well for this. The fence is cut out, to go around the part, and then the hairline crack sealed with the below clay. It's the kind that will never setup, and is supposed to resist anything sticking to it:
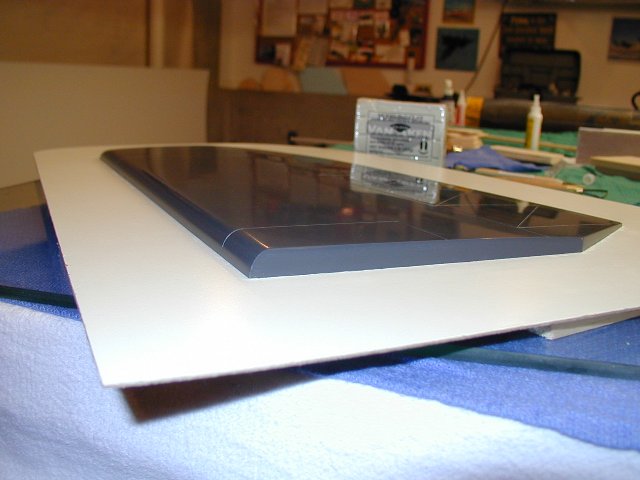
Another shot of the 'fence'. I've glued several balsa and hardwood sticks to back of it, to help keep it straight. The fence and the part are both jigged up so that the fence is positioned at the very widest of the part:
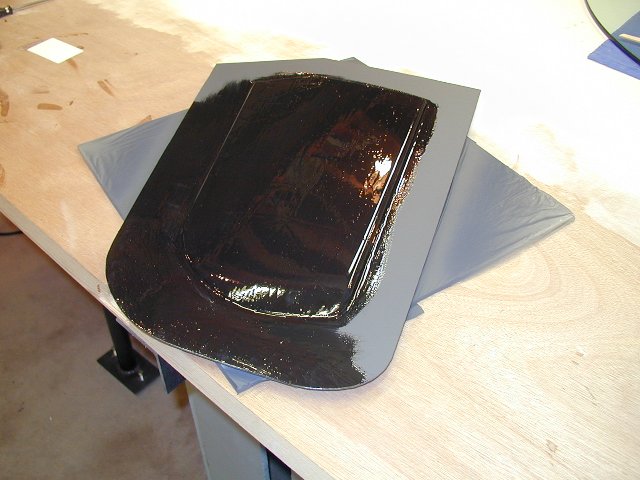
Once it's setup, into the paint room. First, a layer of PVA gets sprayed down, to create a physical barrier between the mold and the original. The instructions for it say it takes 20-30 minutes to dry....hmmm... more on that later. Next I sprayed a heavy layer of the gray Duratec primer. This should provide a smooth surface to the mold. Next, as now seen in this shot, is a layer of just pure resin, on top of the primer. Added to the resin is a little graphite powder, and collodia silica. That should help the resin be harder, and inhibit it from running as much. Also, the resin layer will help keep the layer of cloth going on next from printing through over time.:
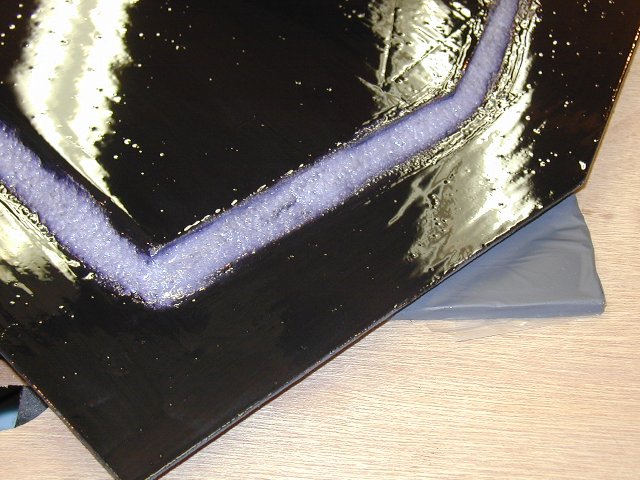
Next is a fillet of resin and cotton flock. This helps make sure the mold will be strong down in square corners where cloth would have trouble being poked into:
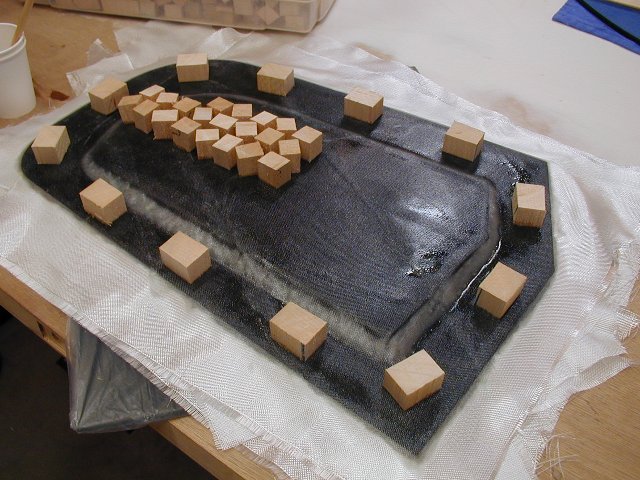
An airplane buddy, John, had shown me some molds with the below technique, and I was amazed at how strong they were. 2 guys could literally try to twist them out of shape and they would not budge. What you see, is now, 4 layers of 4 ounce cloth already down, and now the start of putting 1 inch balsa blocks all over the surface:
Blocks, blocks, and more blocks:
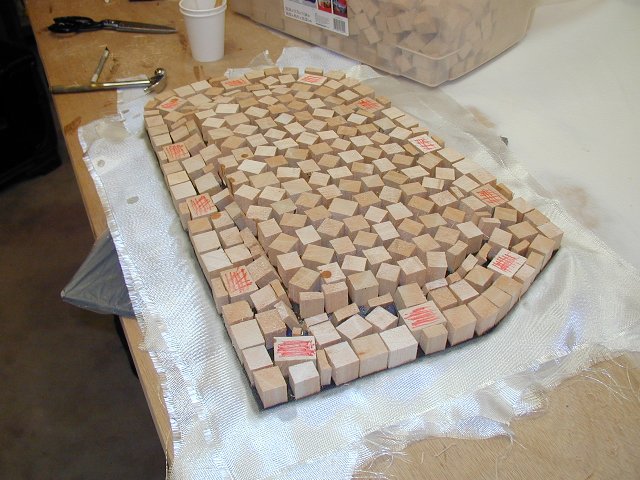
Once all the blocks were down, another 4 layers of 4 ounce cloth go over the top. In-between the blocks, is open air, between the 2 major glass layers:

And now the problem.....or I should say the 3 problems. The major one is that when I started spraying Duratec primer over the PVA, it did not look right. It looked too 'wet' too quick. I had waited an hour, when the instructions said only 20-30 minutes was needed, but the bottom line was that even after an hour, it was still not dry. The primer mixed chemically with the PVA, causing the fogging you see, and making an edge to the mold next to the part look like crap. Secondly, taking the blocks all the way to the edge, means that they are not sealed, and that they could easily absorb water when washing the mold off. Lastly, when drilling through what would be 2 mold halves to install the bolts and wing nuts to clamp them together, making sure there are balsa blocks on both sides at the exact spot would not be easy either. Thankfully, the original came out of the first failed attempt just fine. Off to try again....

Head back to the Main Page