5/5/2004
Jerry's Elevators
I have a different update for you this time. You've seen some of the previous updates reference a good friend Jerry. Jerry has been helping on the project since near the beginning, and stops by once a week to lend a hand. To have another pilot / builder to bounce ideas off of, or to provide another perspective on how to solve a problem has been an invaluable asset. For Jerry, it has provided a way to learn about building techniques the average modeler does not come across very often. Some sessions we tackle tasks that can be a 2 man job. But for the other times, I thought Jerry might like to take a couple parts all the way through the process, to learn all the steps. We thought the 2 inboard elevators would be well suited for this. Below is the process on them, which has taken them up to being ready for surface detailing with panel lines.
Jerry's first attempts at making them were with all wood. Since the 2 pieces have no curvatures on them (other than an eventual rounded leading edge, and a fillet to be added later) it was a logical place to start.... Just lay up some flat planking of the correct dimensions, provide some internal structure for stiffness, and you would be all set.
Almost done with this first set, there was the slightest imperfection in the trailing edge, which he put a little filler on, to eventually be sanded out true. Well.... The filler swelled the wood, causing this nice dog leg in them. Time for a new plan.
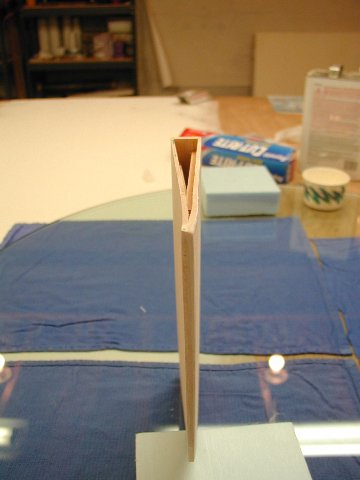
Ok, take 2. How about a solid core of foam, with some 1/64 th ply for the edges. The first attempt at this produced a piece with the correct thickness, but with a warp after it was fiberglassed. Take 3, which is seen below, is the start of making a second set out of foam. First the ply edges are glued on again.
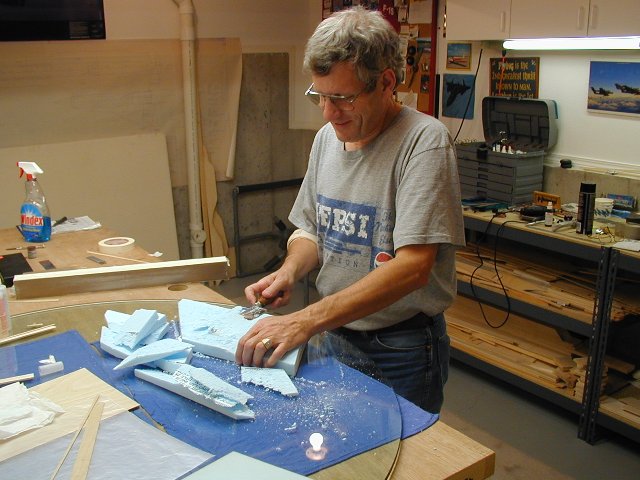
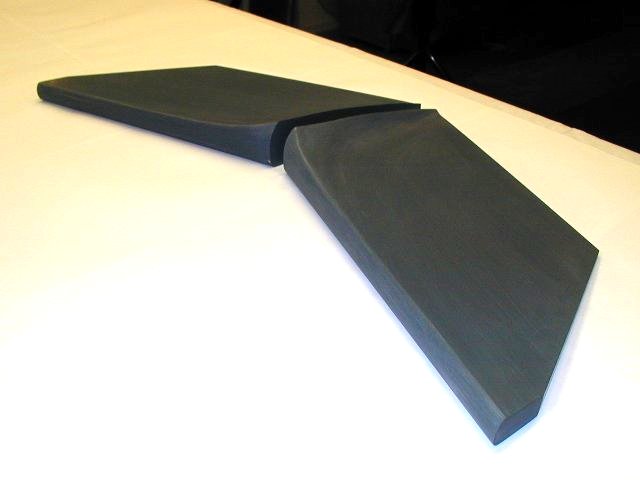
Then, as the saying goes, carve off everything that does not look like an elevator...
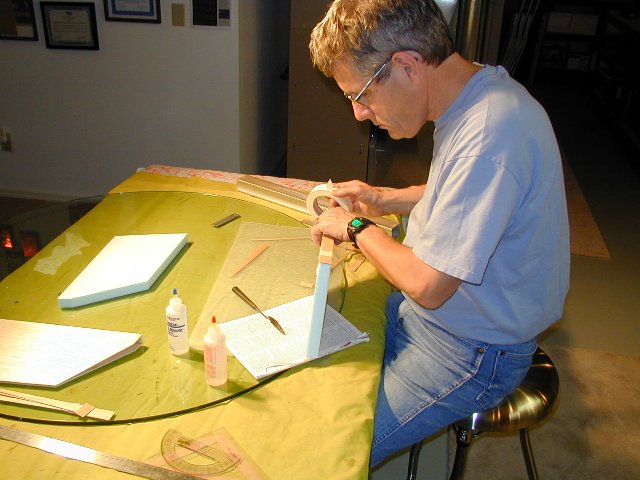
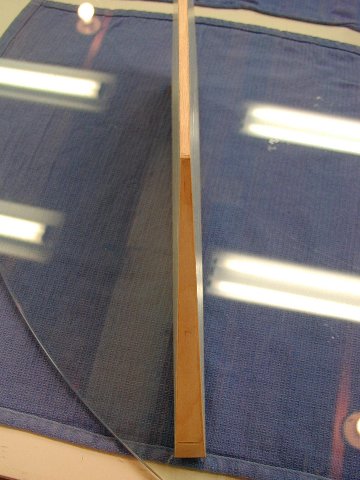
And now for the trick, which was Jerry's inspiration. Since this piece has no curvature, fiberglass both sides simultaneously, and then sandwich them between 2 pieces of plate glass.
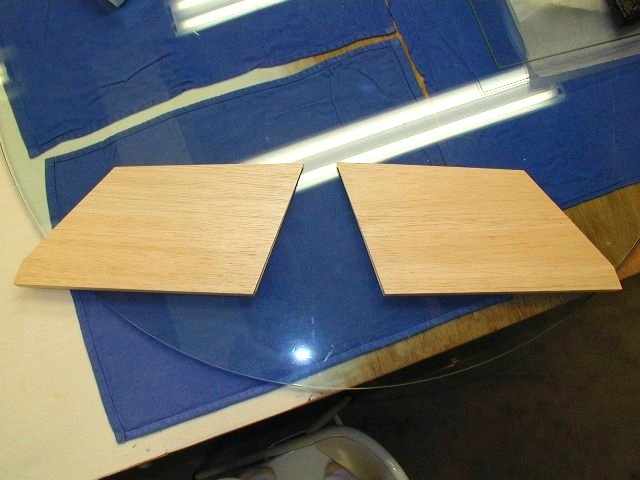
The resulting pieces came out dead on flat, warp and twist free, as can be seen on the below shot. The fun part was you could set the cured piece on the flat glass, and watch it 'skate' about as it momentarily floated on a cushion of air, as it was that true. We both had way too much fun sliding them back and forth across the glass, as if they were on an air hockey table. :)
Now with the bottom fillets installed, glass work done, and 3 coats of primer and sanding done, it's time to lay on some panel lines and make a mold.
Head back to the Main Page