9/3/2004
Parts Molds Done
Wow, have I got a big update for you. I try to do these updates in 'sections' that make sense, and this one turned out to be a long stretch before getting done. With the exception of engine related parts, or aircraft hatches, this update shows the completion of the remaining 'part's' molds. I wanted to finish all of the molds on the smaller parts, before working on the big fuse, and now those are done.
This set of molds were centered around 6 parts: 2 inboard elevators, 2 turkey feathers, a rudder, and a rudder base. Remember on the full size Blackbird, the entire top of the vertical fin pivots for rudder control, so that equals a top and a bottom, or a rudder and base.
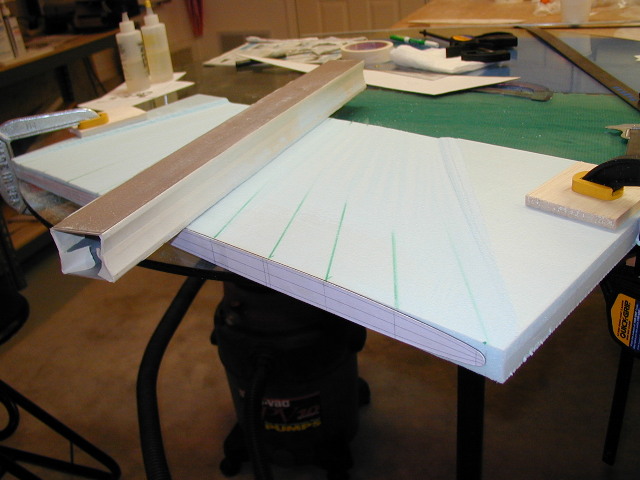
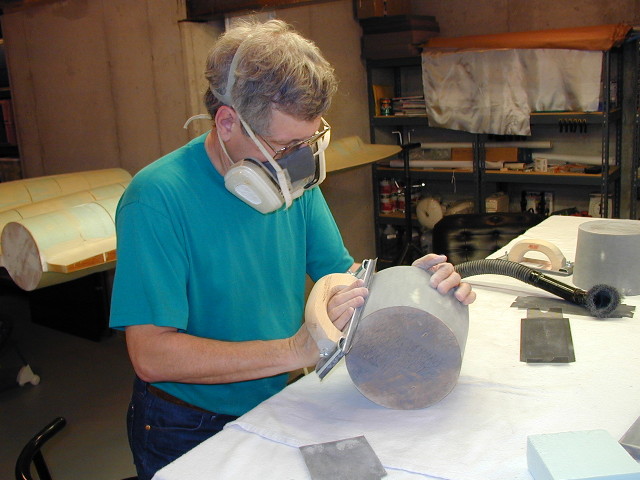
So, first off I needed to make the rudder and it's base. Since this is a pretty thin part, I did not want to hot-wire it, as we have done in the past. After affixing guides correctly, top and bottom, and drawing guild lines to help me keep my sanding block aligned correctly, I get rolling on carving out a part. To help keep this piece true, I carved down only one side, and left the ends clamped to flat plate glass.
With one side now sanded down, I glass it, so that it won't flex and twist on me. With one side now set in stone, I can flip it over after this and carve down the other side to match... Warp and twist free.
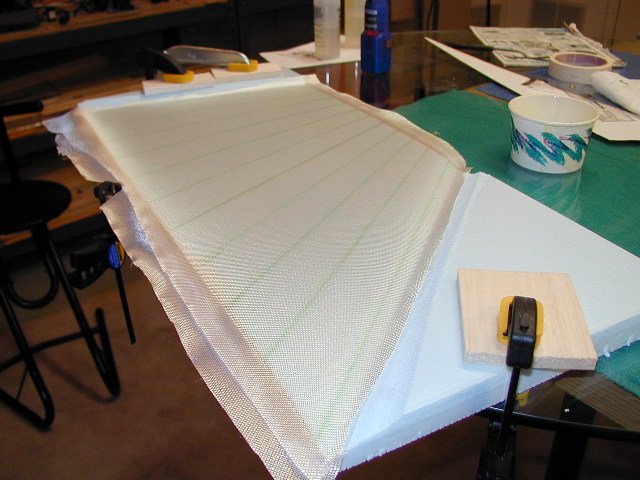
With the basic shape done and glassed, now it's time to separate the base from the movable top, and shape the bottom of the base to match both the look of the full size, and to put a slight curve in it, to match the top of the nacelle, on the fuse.
With the shapes done, time for several primer / sanding sessions on them now.
Did I mention sanding? Jerry's favorite part is sanding.... Just ask him.
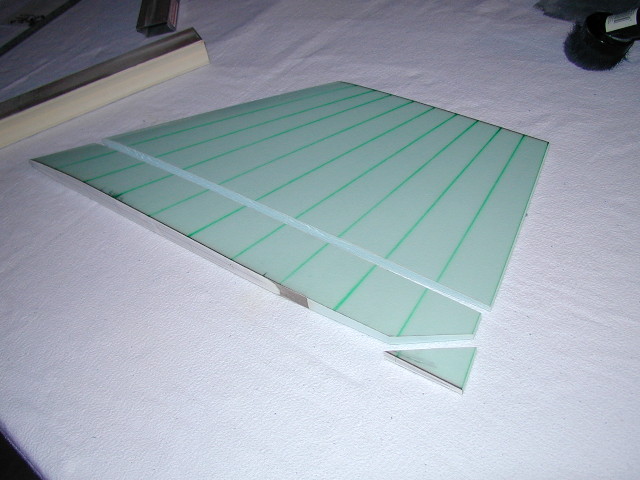
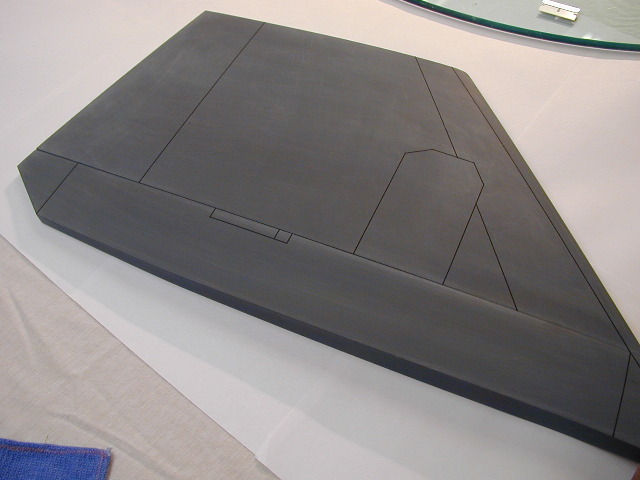
As seen before, when all of the parts are smooth, time for panel lines to go on. Primer will be shot over this, sanded down, tape pulled up, leaving nice grooves for the panel lines. After that, all 6 parts get buffed, cleaned and waxed. Before you gloss over those last couple sentences... That description skimmed over a TON of work :)
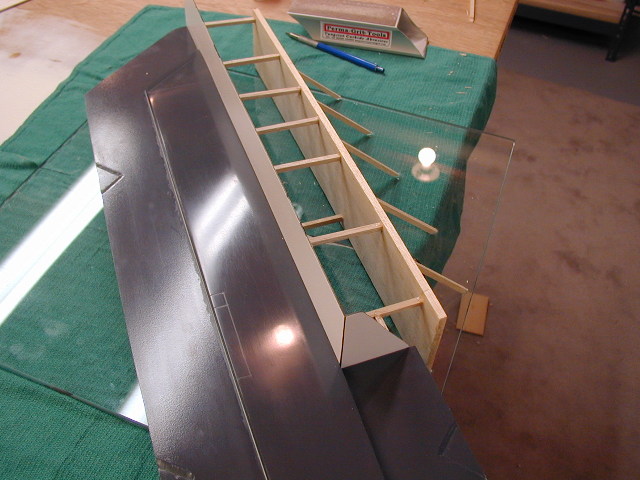
With the parts now done, we need to make 'fences' as described before, to start the mold making process. What I have not shown before, is that the Formica can be pretty flimsy. To keep it flat, where it's wanted, I glue stringers on the back side. In this shot, I was quickly running out of weights to put on them to let the glue dry.

Fences done, and jigged around the parts.

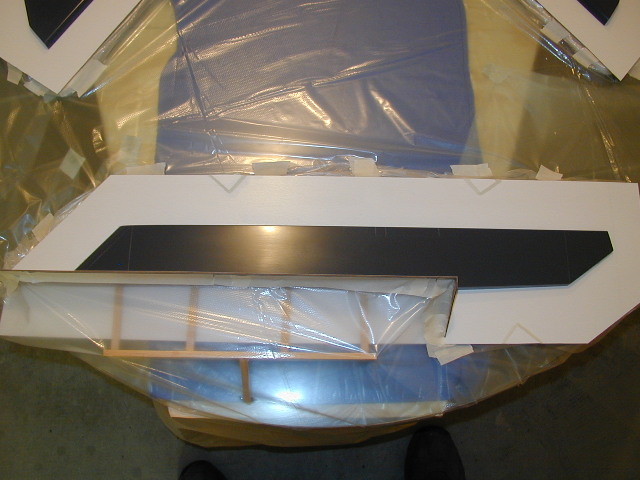
Some fences require creative sides, as you consider where you want molded part to be, and where you will eventually want it to have open places. In this example, I want part of the rudder base to be open, so that it can fit over a key that will be built into the top of the nacelle on the fuselage.
Turkey feather fences.
Once all of it is jigged up, the first step is to shoot all of them with PVA, which is a mold release. This can be tricky stuff, and I am still making mistakes with it. But when you get it right, it forms a very smooth layer over your part that keeps your later steps from sticking to it.
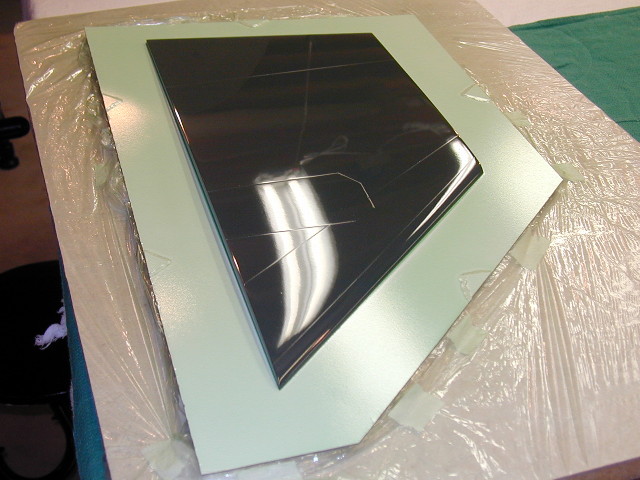
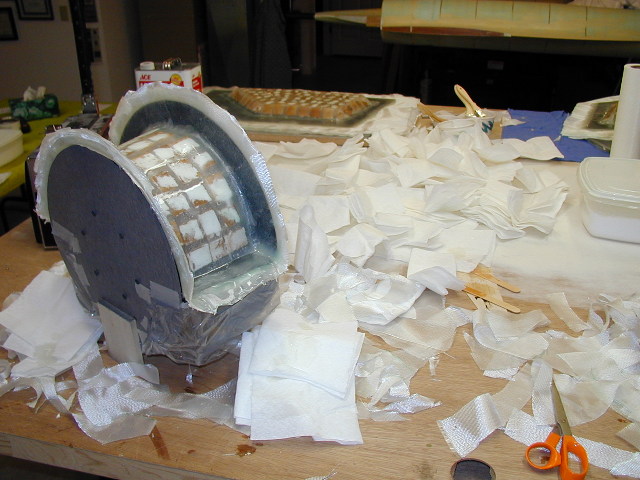
Well, mold making is well underway, and here we are again at the stage of putting the balsa blocks over our initial layers of fiberglass.
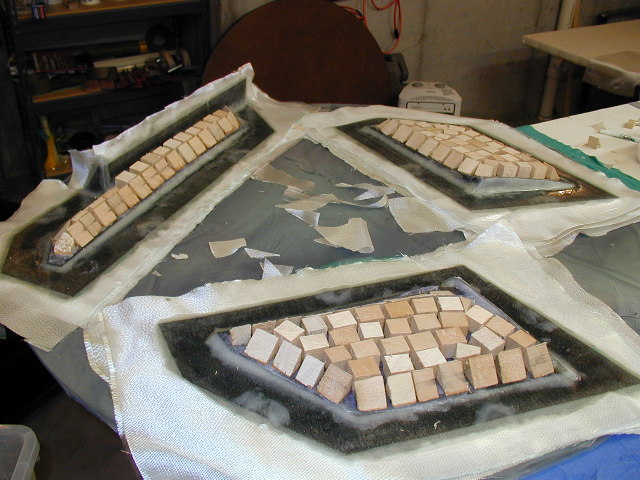
Blocks down, now the layers that are on top go on.
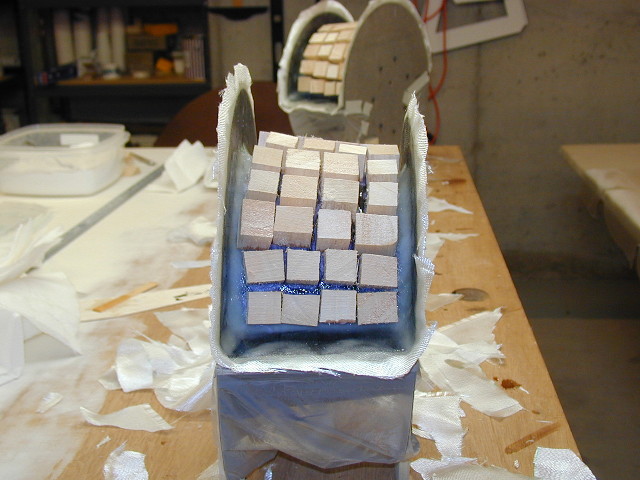
Mixing Cabosil Colidia Silica with my resin helps keep it from running, when I don't want it to. Here you can see how good this stuff is, as I use it to stick blocks at a full 90 degrees and they don't fall off. Keep in mind this is very slow setting epoxy that takes a good hour to start really setting up.
Now we see the rudder base, with the first half of the mold done, and getting prepped to do the second half. Since there are still places that I don't want the mold to be at, it can take some creative 'jigging' to temporarily hold my Formica in place.
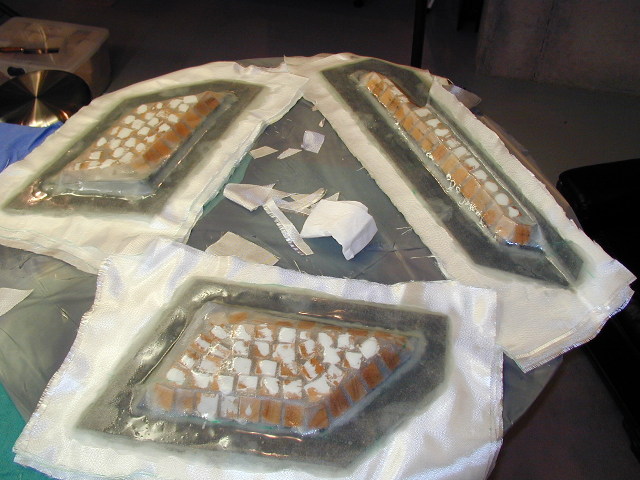
The finish of a mold making session. The thing to keep in mind, is that when you start laying up the layers of the mold, you have to keep going, until you are done, so that all of the layers are chemically bonded to each other, making it strong. There are places on these molds that are 14 layers of fiberglass thick.
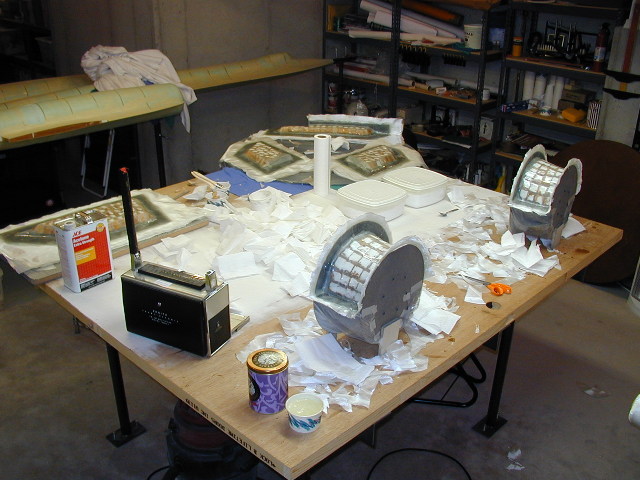
Did I mention that this session was 17 hours straight of fiberglass work? Uggh. The tons of paper towels you see, are used to help push down the layers of fiberglass into the tacky or wet layer that would have just been put down before it.
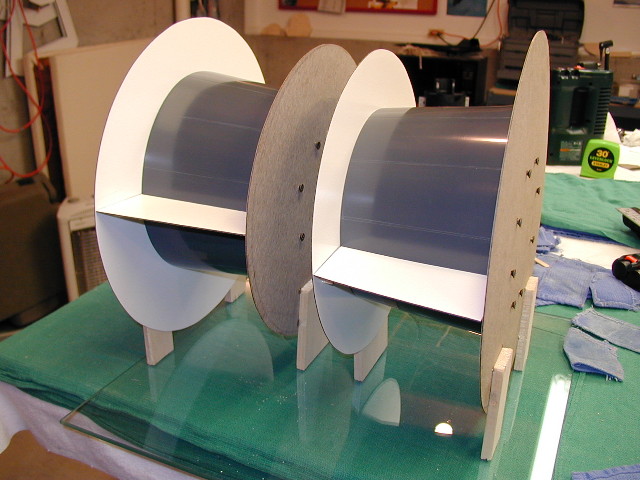
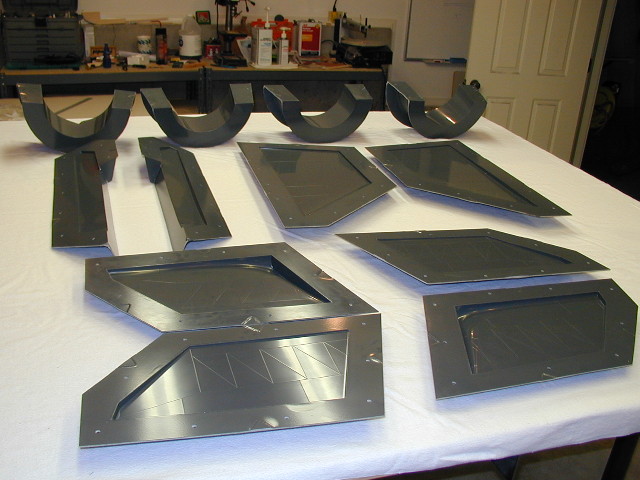
But, finally, the edges are trimmed, and after some grunting and groaning, molds are pulled off of the their parts. This shows the 2 mold halves of one of the turkey feathers.
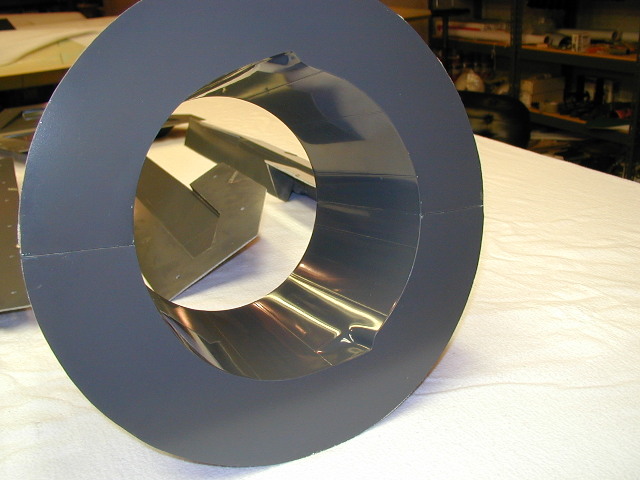
It really is a fun night, when after a month and a half of starting to bury your original plug parts in the molds, that you finally get to crack them off, and see how they turned out. I'm very pleased with how these turned out, and all are good shape. Up next will be making a couple parts from these molds, to finalize a few things on the big fuse plug, which then lets us finally get primer on it.
Head back to the Main Page