12/21/2004
Fuse Plug Painting
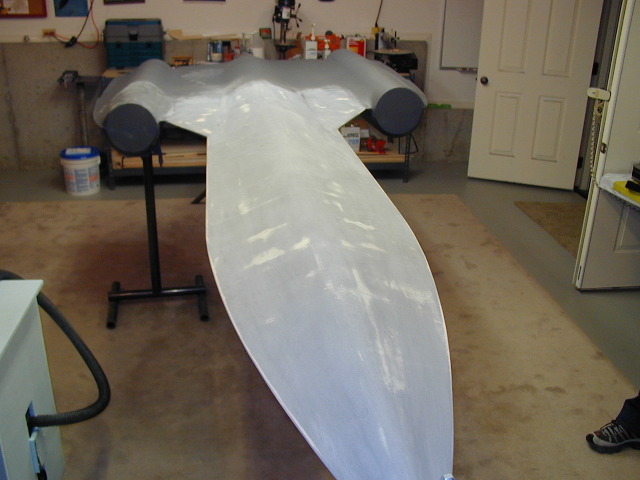
Last I left you, the fuse was just ready to take it's first primer. After it's basically been sitting in the shop for almost a year while we finished the smaller parts, I was quite excited for it to finally have a different look. After a big (and I do mean big) painting session, we had a good coat of primer down.
But... As you see below... That was the easy part.. Now it's time to start sanding most of it back off. 13 feet of airplane is A LOT of sanding. Oh.. And count both top and bottom... Make that 26 feet of airplane to sand.
Did I mention that this is a lot of sanding?
No, really... A lot.
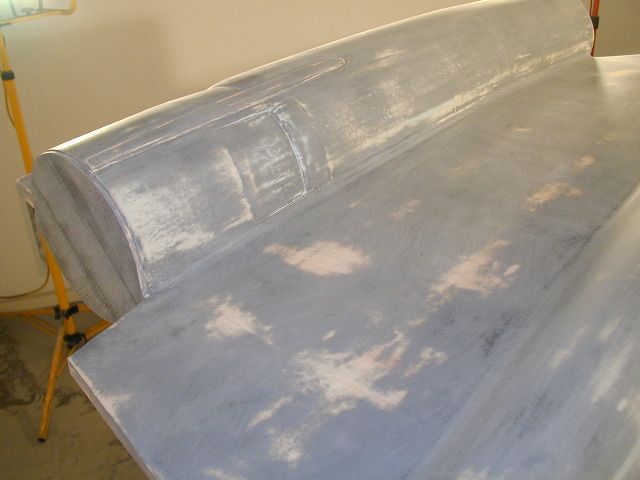
Back in the paint room, ready for coat 2 of primer to go down.
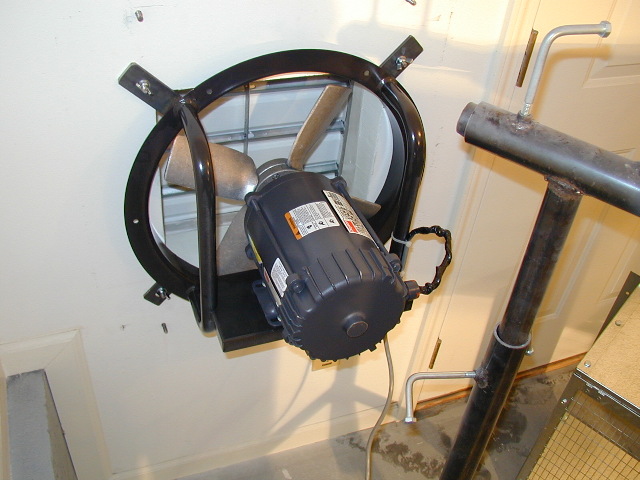
Now... Before I get ahead of myself, I have to show you this. After the first fuse painting session, I realized I needed better ventilation. Previously, I had 2 ceiling exhaust fans that could move about 300 cubic feet per minute. This was fine to keep up with the past painting sessions that I was just shooting 10-14 oz. But, when we shot the fuse the first time, we shot about 2/3 of a GALLON, in about an hour, and it just overwhelmed the exhaust system. I had a sore throat for 6 weeks. Bah... Time for an improvement. What you see here, is a ¼ horse, 16 in, hazardous material fan, mounted in the side of the room. It also has a cage that goes over it, with filter material that keeps the fan from getting coated. This sucker cranks out 2,000 CFM, and when put with it the existing fans, I can turn over all the air in the room every 40 seconds... Now we're talking.
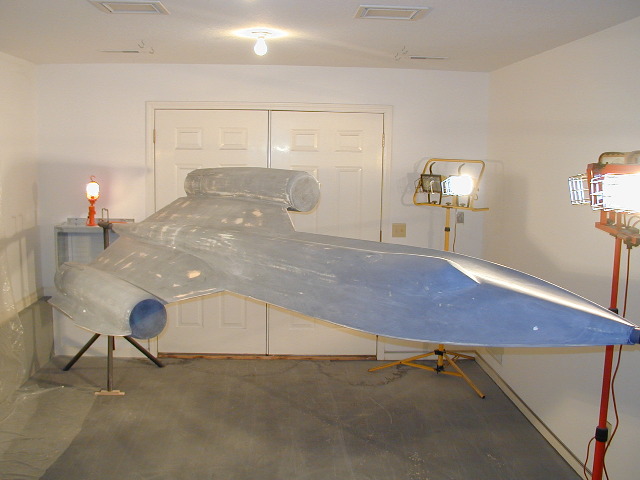
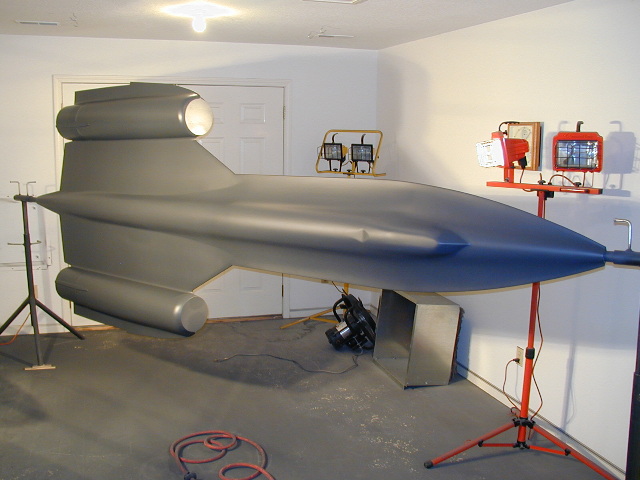
And finally, time to put the new exhaust system to the test, and what you see here is the finish after the 2nd coat of primer is down. The new system works great, and it was much more enjoyable to paint in the booth as well. Another month of sanding, and I'll be ready for coat 3, which should be the last coat before the panel lines go down.
Head back to the Main Page