9/6/2005
Panel Lines
Wow, what a long time since an update. Two big elements have had a bearing on progress on the Sled. First off was a bear of a time with work, which was about 3 months of working nearly 7 days a week. Secondly was the birth of my second son Daniel, which went well. Needless to say, it's been pretty busy around here. But even with all of that, progress has been slow and steady in the shop. This update brings you some fun photos describing the panel lines that have been put on the plane. Some of the photos are a bit grainy as they were taken in low light conditions on purpose. Also, this was a welcome change from the noise and dust of sanding. Just peace an quiet, with documentation in one hand and some calipers in the other.
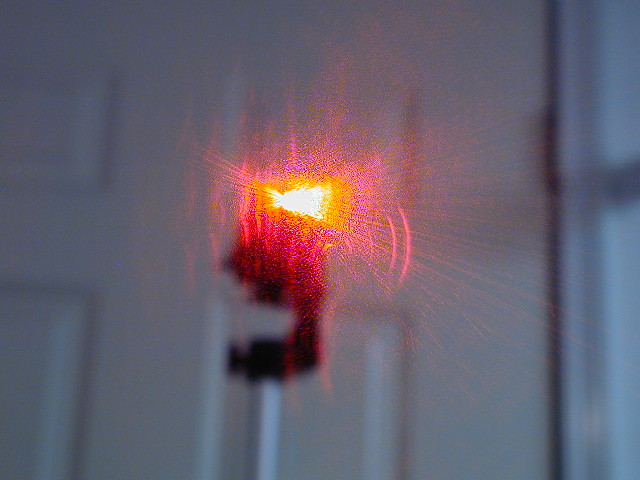
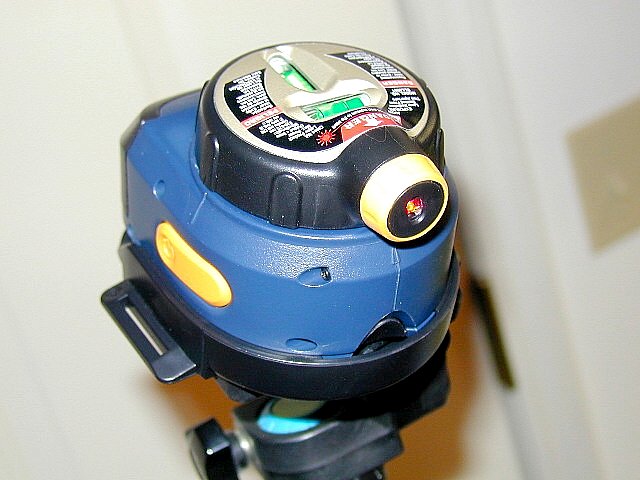
Lasers.... Yes lasers are used to help lay out the panel lines.
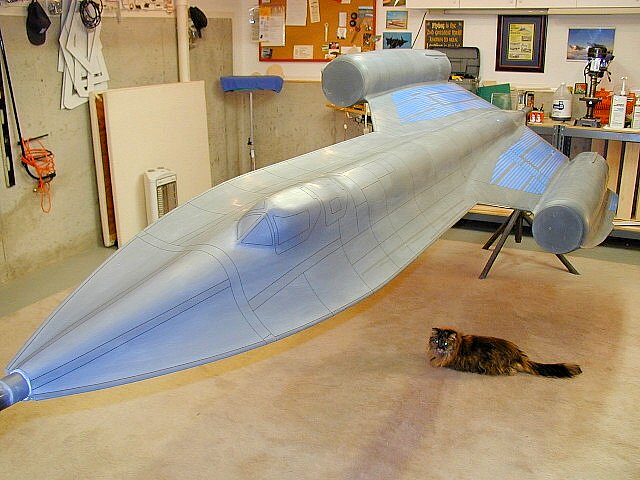
Here is the actual unit that I've been using, which has been working great. I've mounted it to a tripod so that it can be precisely put where needed and pivoted about.
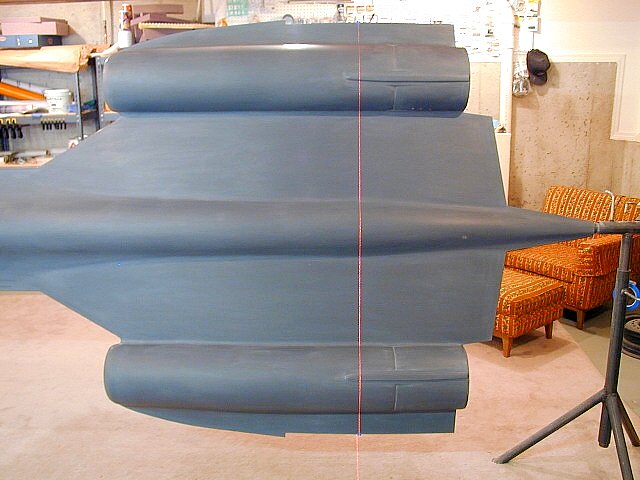
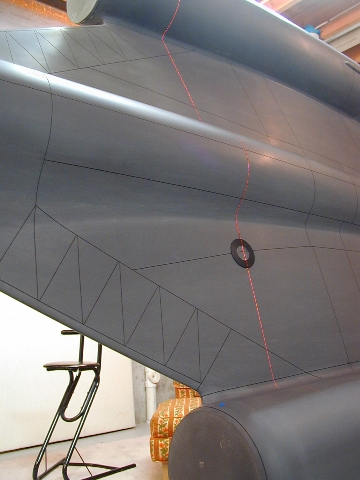
As you can see here, it puts a true line across either the entire width or length of the plane.
This is a good photo to show just how handy this is, when it comes to needing a way to trace a straight line over very curved surfaces. You also see a couple small pieces of scrap blue tape here too. Once I get the exact spot marked with a pencil, I then put a couple pieces of tape on either side of it, so that when standing by the laser I can see how close I am to being where I want to be.
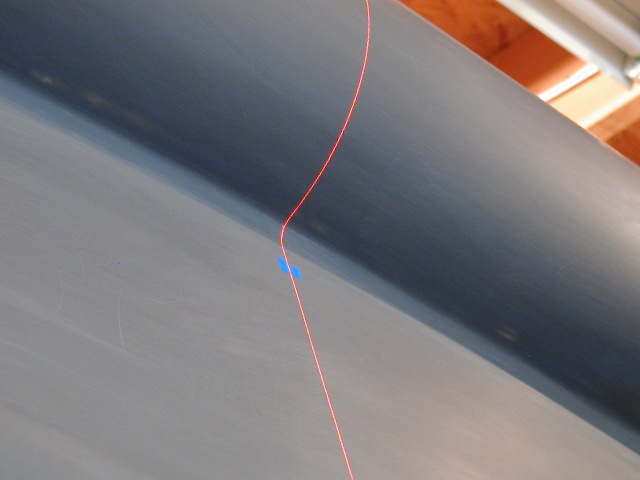
Once the line has been precisely positioned, I take my 1/32 inch chart tape and just follow the red line. Simple and easy.
OK, I did say simple....... But, not simple when you think of the vast amount of lines to put down. I'll hand a caliper to anyone to check them, as they are on the money, down to a couple millimeters off at the most. I was really pleased with how the cockpit lines worked out.
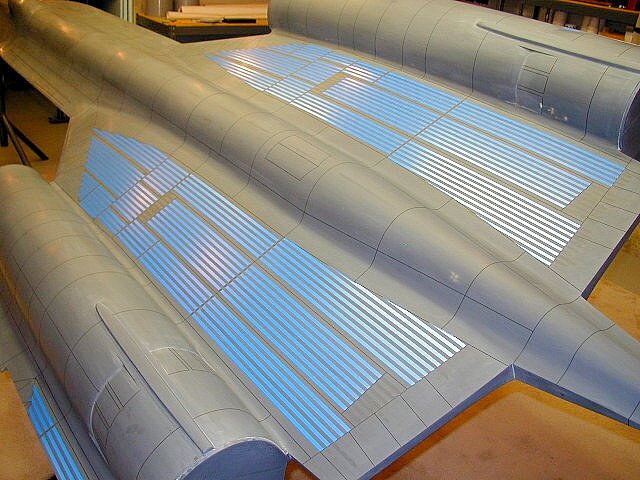
This last photo shows you the amount of work to lay out the corrugations on the wing area. Good grief that was a lot of work. But I have to admit it does look pretty sharp now that it's done. Next up, is one last coat of primer, sanding, and pulling all this work back up... But that's the next update :)
Head back to the Main Page