3/6/2006
Fuselage Fence
Back again, and this time, we're getting darn close to finally getting the big fuse mold made. This update is to show you the construction of the 'fence' of Formica that has been constructed around the perimeter of the fuse plug.
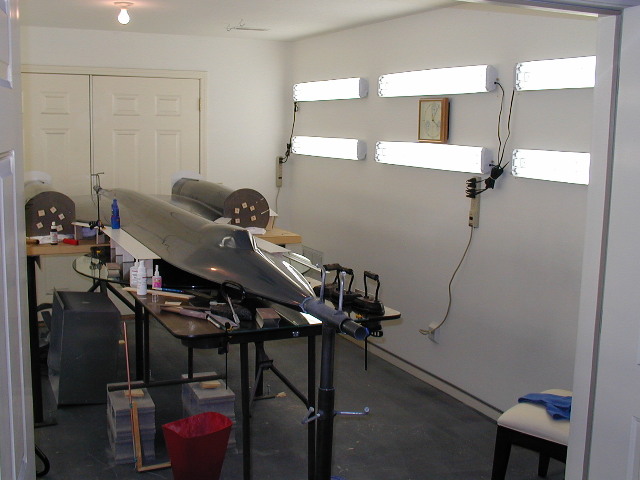
The mold will have to be constructed in the paint room. This is because the first 2 steps, which are shooting the PVA, then the Primer, must be done in the paint room. Well, we can't really move this monster after the Primer has been shot, without disturbing the fences. Therefore we've got to do all this work in the paint room. The next step in my thinking was, "I need better lighting in here, not only for all this work, but to help with painting in general". This picture shows you my new paint room lighting. Another set of lights are on the left wall out of sight. This adds up to a total of 24 florescent bulbs set at good heights and angles for painting.
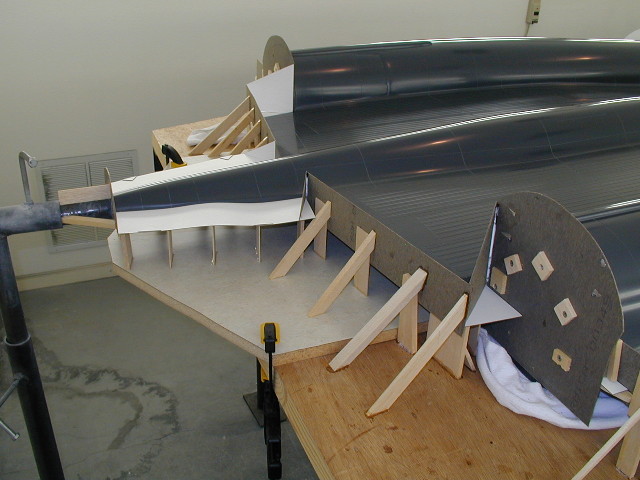
Here you see the fence under construction. I made this one wider than the ones on the smaller parts, in case I ever decide to vacuum bag the fuse. On average, the fence is 3-4 inches wide. You'll also note that the table I've been using for alignment under the back is smaller. We went out back and with a circular saw, cut about 10 inches off of both sides, to aid in our ability to reach over to the middle to lay cloth and resin later. Once the molds are made, there will be no further need for the alignment table and it will be broken down and discarded. It is a huge table that takes a ton of room in the basement.

Jerry came up with an ingenuus tool, to help mark the fences around curved surfaces. This is harder to do accurately than you first think, since you can't very well hold a sheet up next to the fuse squarely and get a good mark. Jerry's invention made short work of the problem.

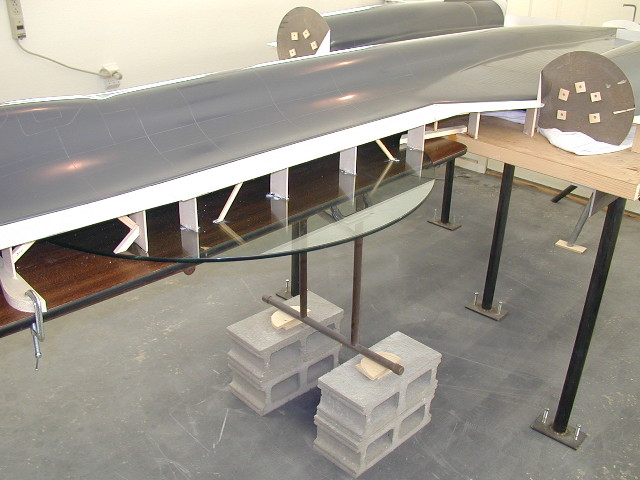
The fence must be mounted at the exact widest point of the fuse. This means a lot of structure under it, to hold it rigidly in place.
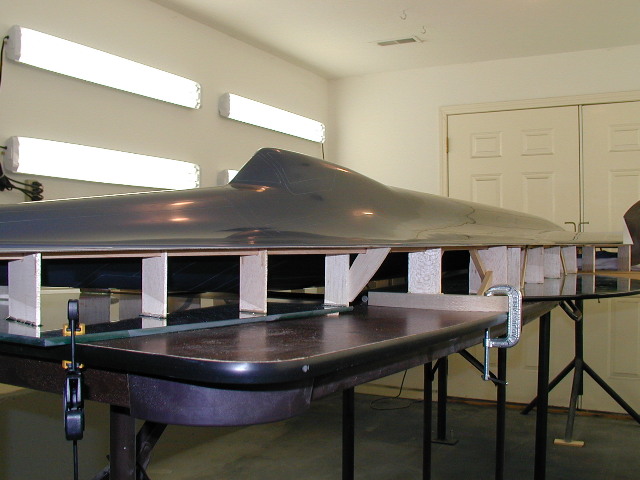
Rather than make tall supports for the fence, it made more sense to just raise the table under the nose, with blocks and shims.
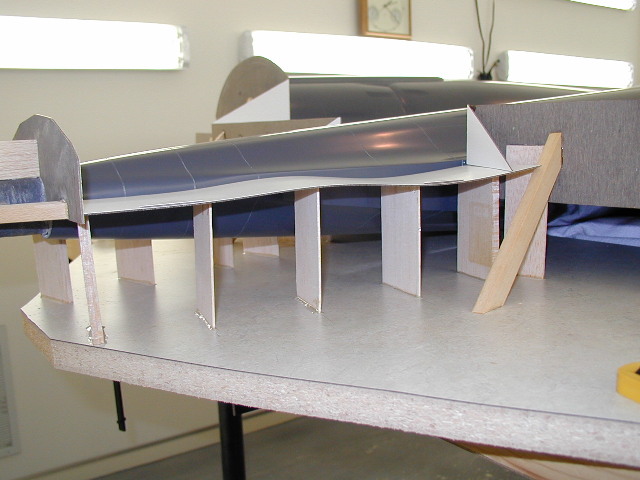
The back end is quite complex, because there are places I want the mold to be open, and others where it needs to be closed and seamed with the other side.
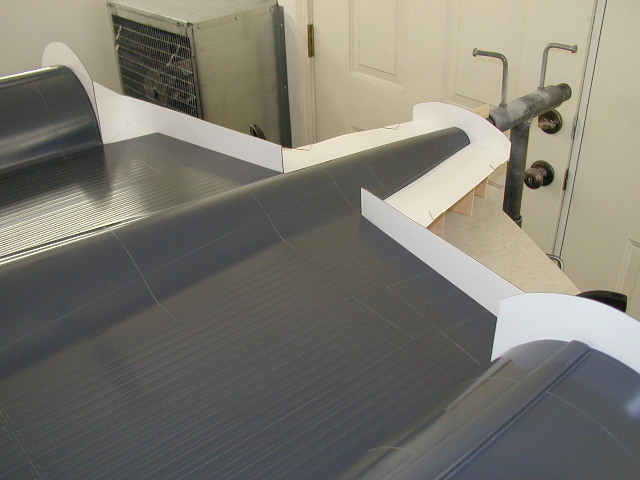
You can see the trouble, all these angles and edges can turn into.
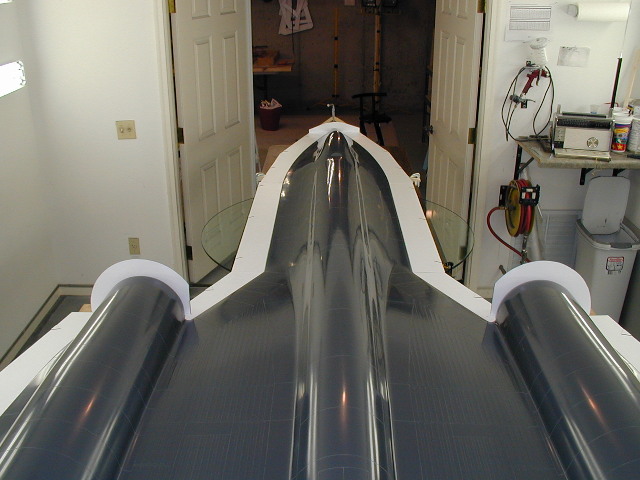
I said above, that the fence must be placed at the exact widest point of the fuse. Sometimes, even on what you thought was a flat 90 degree surface, it's not as true as you think. Here is an example of how I had to chase where the widest point was a bit, by bending the fence.
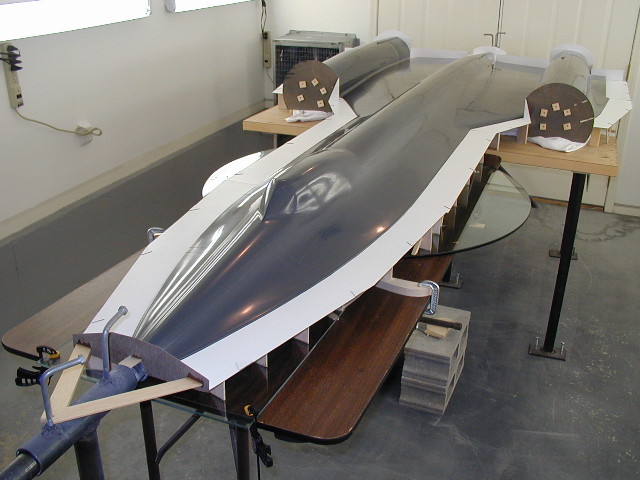
Fence is now finished.
All done with fence construction. Next is a few hours of masking the underside off with some plastic, and then sealing the crack between the fence and the fuse with clay. That should take a few weeks, then it's time to fire up the compressor, cut some cloth, and start mixing resin.
Head back to the Main Page