6/7/2006
Top Fuselage Mold Done
I had intended for this to be a tale of casting both the top and bottom molds. But as you will see below, there was enough work here to merit an update on the top mold alone. I had a few problems along the way, but in the end, I think I've got a usable top mold. In addition to the 75+ hours of work shown here, spread over a couple months, the raw materials are well over $1000 in the top mold alone. Gallon after gallon of resin and yard after yard of cloth start to add up.
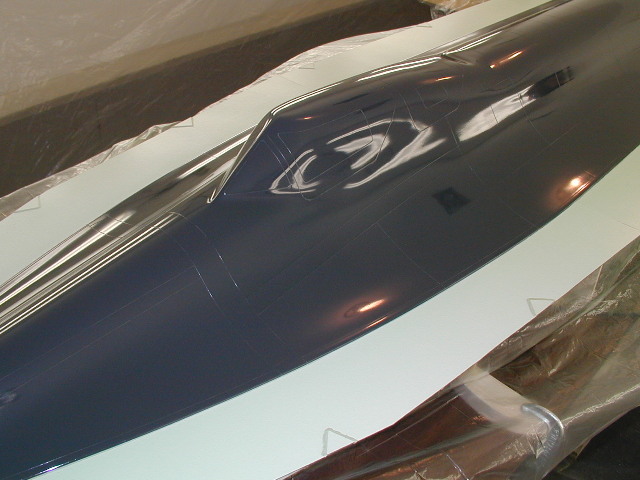
In what is by now a familiar process, you see here the PVA on the plane. I had a few issues here, however. First was the clay I used to seal the cracks between the fence and the plug would open up, because of slight temperature variations on such a large object. I'd get a section of clay down and scraped to perfection, only to come down the next day, and have a hairline crack open up. Baaah. The solution was to leave the fillet of clay until the morning of shooting the PVA, scrape it flush, then shoot my PVA. This caused my Friday morning before work to start at about 4 am. I got a decent coat of PVA down, but got a few 'sags' along the back of the nacelles. After pondering on it, I thought the slight imperfection it would produce could be solved by less than 10 minutes sanding on a plane that would come out of the mold, so I pressed on. Redoing it at this time, would mean breaking down about a months' work to clean it off and rejig it all back up.
The next photo shows the Duratec paint having been shot over the PVA. This would have been simple, but the last gallon I had intended on using on Friday night, was unusable. The plan was to shoot the paint, then work the weekend casting the mold. The paint was about 18 months old, and had settled out beyond being able to stir it back into solution. Jerry and I tried for 2 hours to get that gallon to come back to life. I was presented with quite a problem. Here I set with a PVA coat down, that should not be left that way for more than 12-24 hours, on a Friday night. I went and searched for an hour for any source of a fresh gallon that could be next day air shipped for Saturday delivery... No dice. So I put in a next day order with my normal supplier, that was processed on Monday, and delivered on Tuesday. Gallon cost $70. Cost to ship one gallon of hazardous material paint next day air: $74. Ouch. But, I felt we needed to press on as quickly as possible, or be faced with a month setback. So.... Tuesday night we shoot the paint you see here, and cross our fingers that the PVA is still prepared to keep our mold from gluing itself to the plug we had worked on for 3 years....
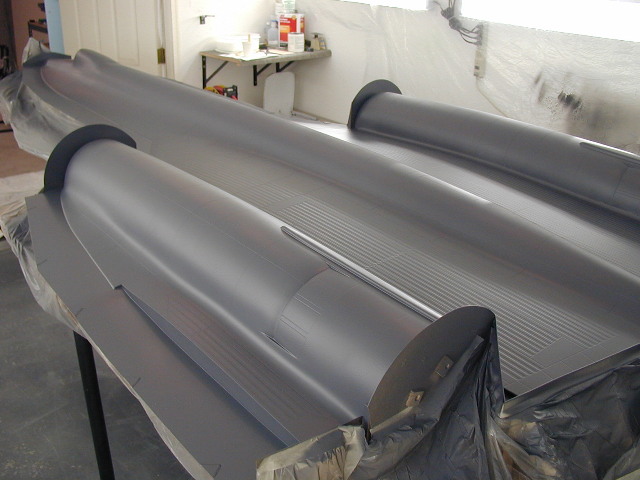
So, with paint down, Jerry and I took a day off of work. The following Wednesday morning we start laying the cloth and resin down. Here you see the first layer of pure resin is down, mixed with graphite and a bit of cabosil to help with runs. Also, you can see the white areas where cotton flock and resin are mixed and set into spots of fairly square corners so that they are solid.
Although this looks like the first cloth going down, it's actually the start of the 2nd layer. The first is already down, and nearly transparent, once it's wet out.
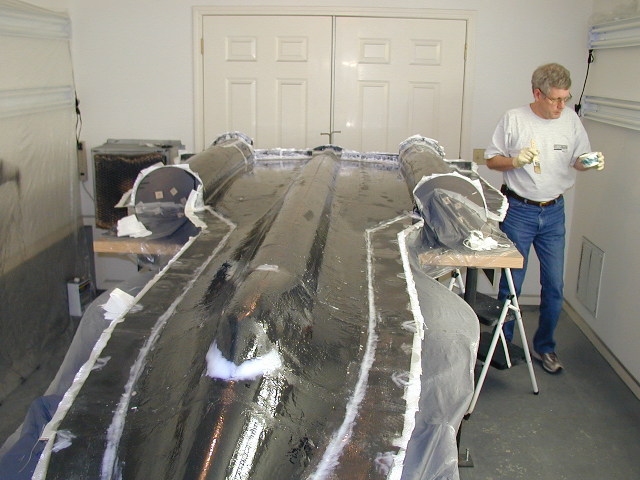
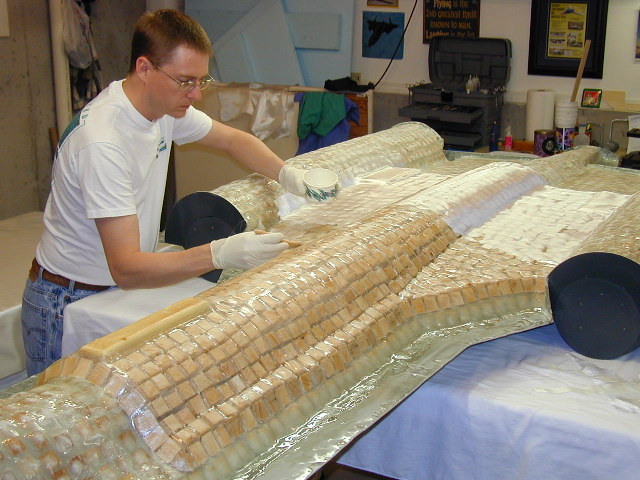
More cloth.... As you can see, it takes a bit of time to cut and fit all the pieces you need to conform around the compound curves.
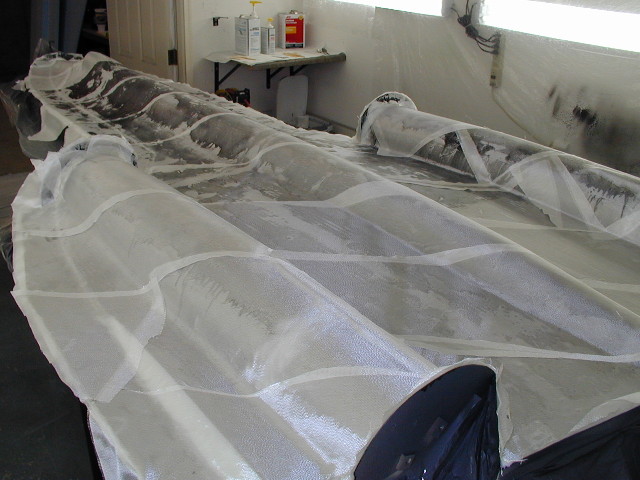
At this point, there are 4 layers of fiberglass cloth down over the airplane, and 7 layers over the flange area. This Wednesday started at about 6 am. Jerry arrived to help around 9 am. This photo here, is taken at about midnight....
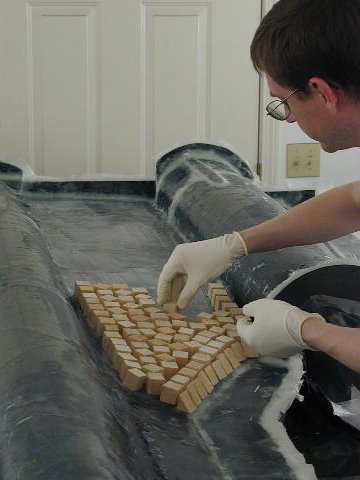
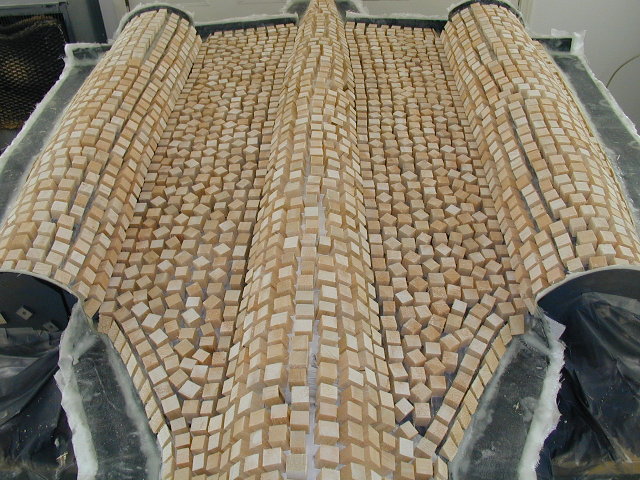
Did I mention this might take a few blocks? I had this huge tub of them all the cut up and ready to go, and was starting to get concerned that I might not have enough.
Well, I was right, and ran out, with not enough to cover the nacelles. But at this point it was about 2 am, and Jerry and I were exhausted. A 20 hour day was long enough, and we called it good enough for now.

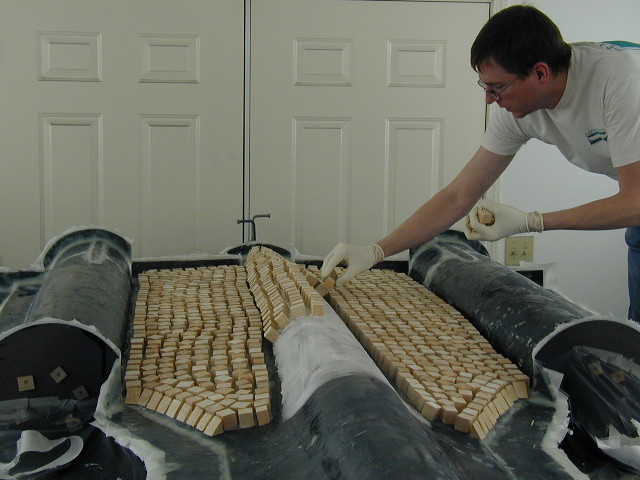
After a bit of rest, and some time on the band saw again, the rest of the blocks are put on the plane.
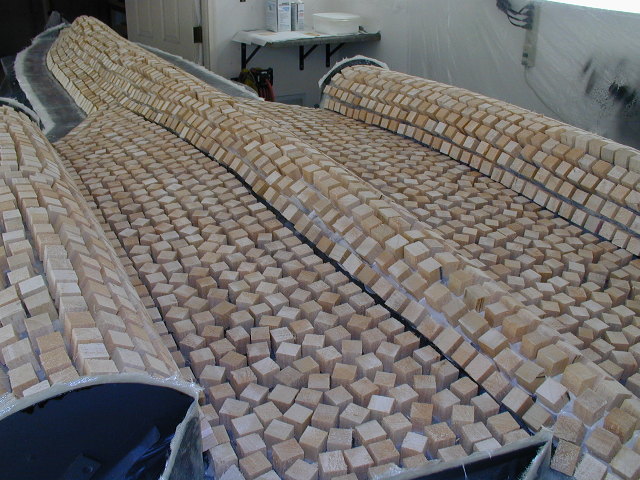
Did I mention that this takes a lot of blocks? :-)
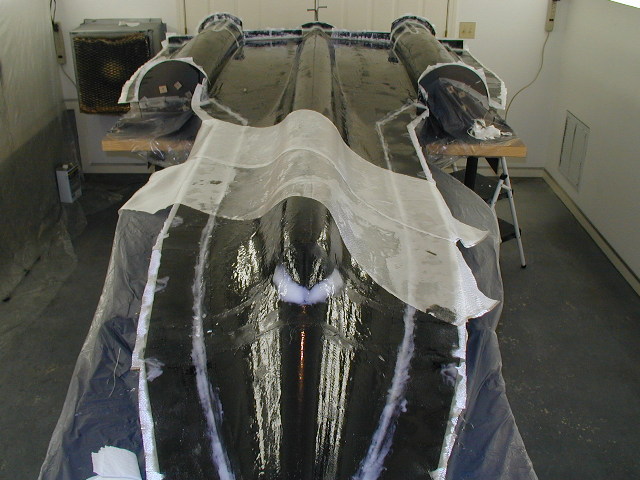
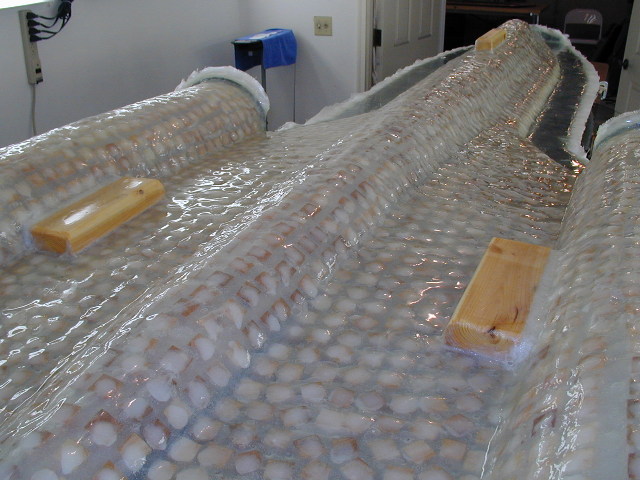
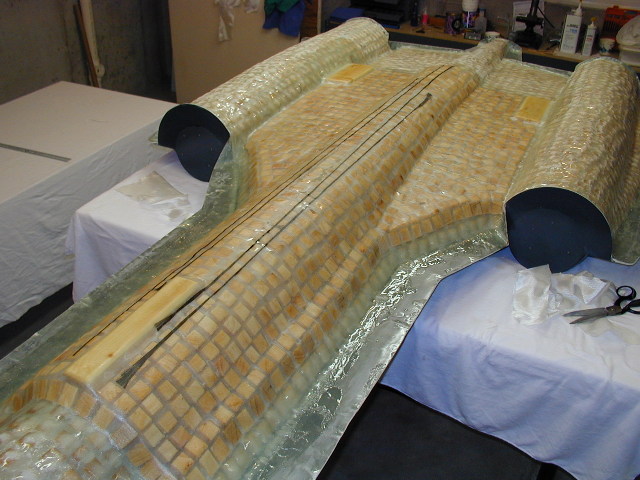
Now we jump forward to a Saturday. What you see here, are the 4 layers of cloth on top of the balsa blocks, with the extra layers built on the flange as well. You'll also see here, three 2x4's laid in as well. My intent is that these will be anchor points for legs I can add to it, so that the mold itself can be a free standing table to work in, when building the airplane.
Now for the moment of truth. At this point, the entire mold has been left to cure for 2 weeks. The edge has been trimmed with a jigsaw and a grinding blade. We've broken loose the fence, brought the entire monster into the main shop, and turned it upside down. I blocked it up a few inches above the carpet, so that when the mold came off, it would not have far to fall.
At first I thought it might just fall off..(yea right). About a foot or two on each end came loose pretty easy. The rest...well... Took some coaxing. About 3 hours worth..... At one time I had almost my entire body weight pushing down on the flange edges around the nose area. But, with some patience, some water, some balsa shims all over, and some compressed air, it finally gave up the ghost. The funny part was after 3 hours, and not knowing how close we were to getting it to come off, Jerry and I were not actually touching it, when it fell off.
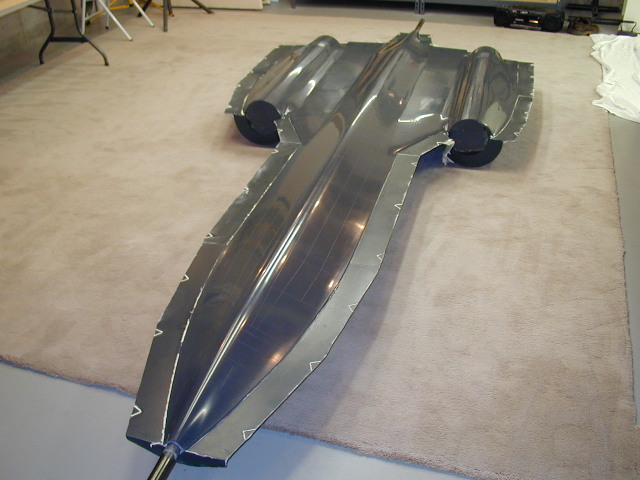
This is a good shot showing how the PVA actually dissolves when water hits it, helping with the release.

How often do you take something you build in this model airplane hobby and hose it off in the back yard with a garden hose? :) After it was free, all the PVA is cleaned off the new mold in the back yard. You have to be really careful here, as there are places around the edge, that are razor sharp, while running your hand over it working off the PVA. Later the edges are sanded and smoothed out to make it safe to handle.

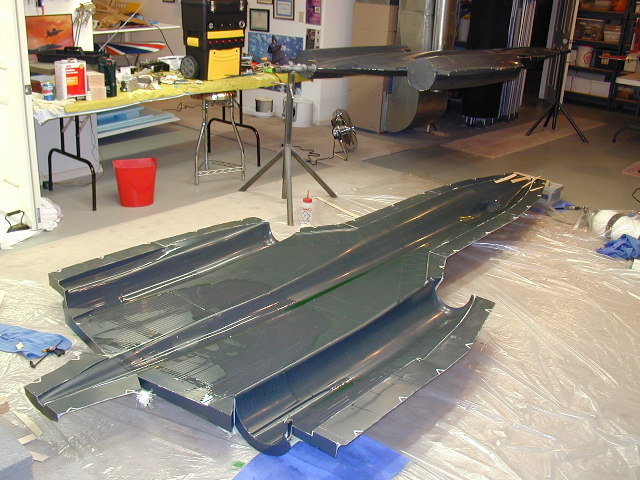
Once I had the mold inside, dried off, I went over it and it is in pretty good shape. I did notice though that it would flex just a tiny bit, when picked up at both ends. I'm talking only about a ¼ inch or so, over the span of a 13 foot mold, so not much. None the less, I thought it wise to make sure this was held to a minimum, and added a 2nd layer of blocks between the hard points of where the legs will connect. You know, perhaps I should just start growing balsa trees in the back yard....
Extra layer now finished, with a little carbon tow added for good measure. I'm swamped on the home front, so I'll not get much done over the next 6-8 weeks. But after that, the bottom mold will be up next, followed by lots of waxing all the molds, as we slowly close in on actually making an airplane.
Head back to the Main Page