9/25/2006
Bottom Fuselage Mold Done
After a break for 2 months on some personal matters, progress is back underway, and now the bottom mold is complete! Read on to see how it turned out.
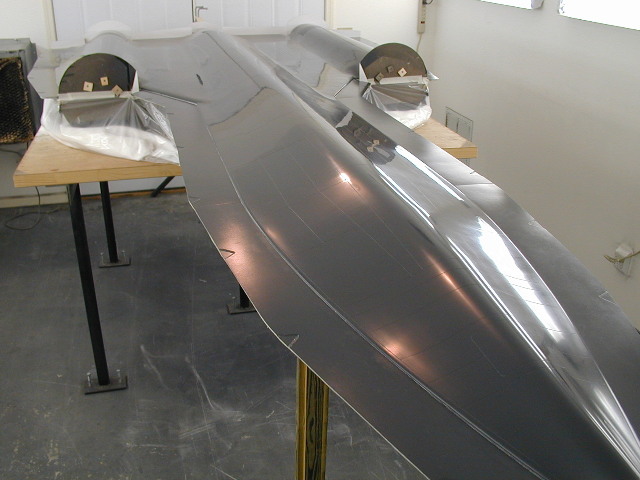
Back in the paint room, this time to jig the whole critter upside down to cast the bottom mold. What you see here, is the top mold upside down, and the fuse plug laid back in it, upside down as well. Much checking was done, to ensure is was all seated back as it should.
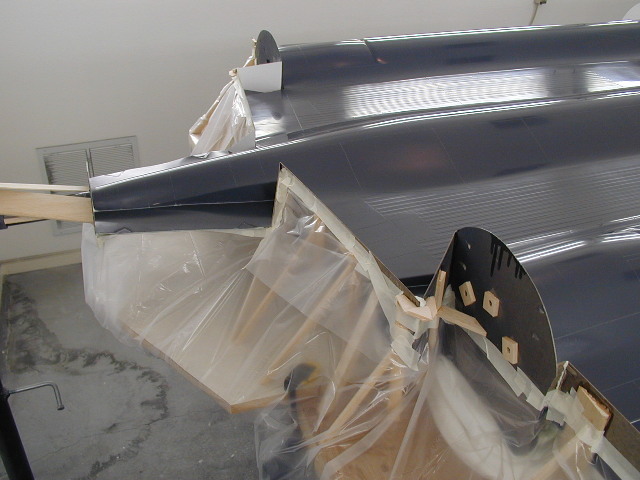
Although the flange of the top mold could help us around many of the edges, all of the vertical places still needed to have Formica jigged in place to help form the mold as needed. As you can see here, plastic is in place to keep over spray from getting to the top.
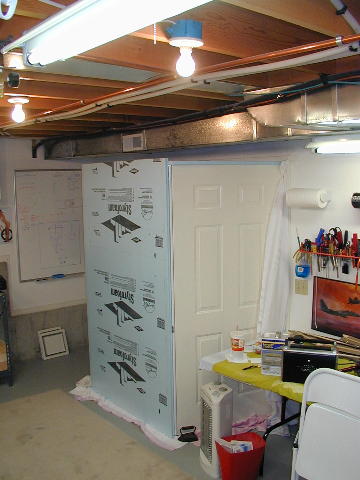
You know... No matter how big you build your shop and paint room, you always wish it was just a little bit bigger. What you see here, is me needing just one more foot in my paint room. Because when we cast the top and bottom mold, we need to use the alignment table, the plane must be in the room square, which sticks the nose just a foot into the shop. Since I'm spraying materials, I needed to 'extend' my room a bit, and here was my solution.
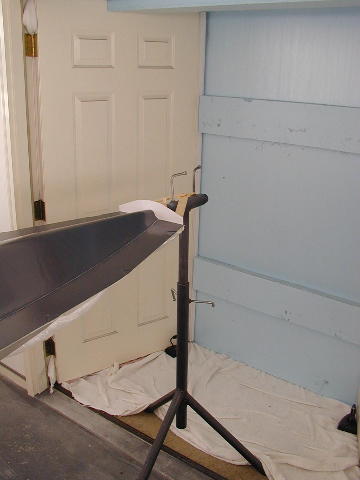
I thought it was quite a creative solution..... Anyhow, this is only needed for making the molds. When the actual molds are used, they can be put in the room at an angle, and the doors can close proper.
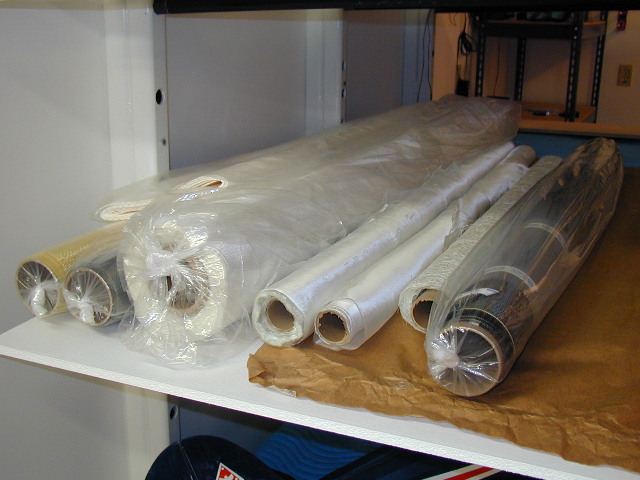
Also, as a bit of an aside, I've heard people over the years make remarks about how easy or simple, or cheap it would be to make a copy of something, then you could make more copies of whatever for yourself later. All I can say is, the raw material costs are not cheap when you start adding it all up. This photo was when my last order came in, just before making the bottom mold. The gallons of resin you see are $80 each, and the hardener is $30 each.... Do a little math and you can see supply orders routinely run $1,000 a shot.

Same thing applies to cloth. That big roll of 6 ounce S2 cloth you see there is about $900 alone. And the roll of carbon cloth you see runs $70 a yard, when you can get it. It's become a bit scare in recent months, with Airbus and the US military buying about all the mills can produce. Don't get me wrong, as I'm not complaining at all, since I've budgeted for this all along, but I'll know that from here on, I'll never complain about the cost of any of the kits out there. Considering the time of development and cost of materials... Any kit out there is a bargain, assuming of course it does what it's advertised to do and has good flight characteristics.
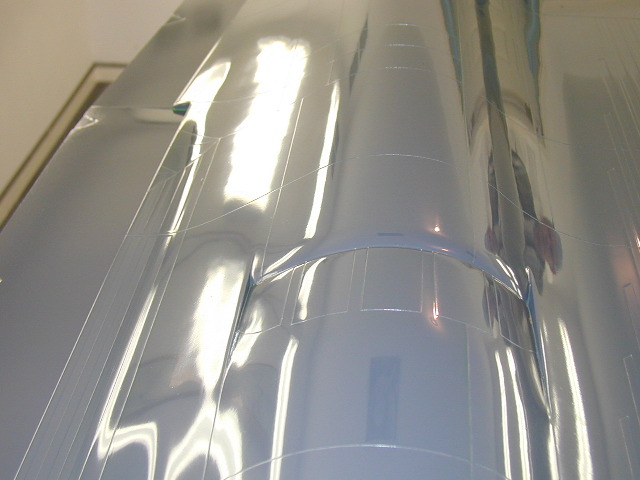
Anyhow, on to progress. PVA shot here. I'm slowly getting better with this stuff, but dang, it is near impossible to get a perfect layer of this material. "Necessary Evil" is what I'm going to start calling this stuff.
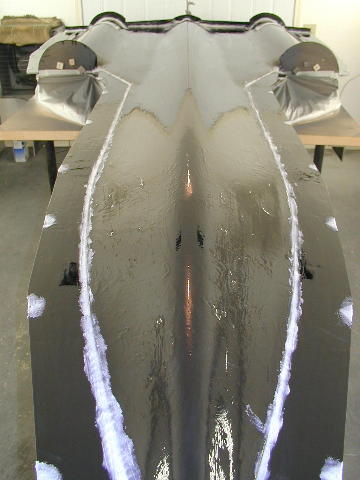
Paint down, first 'gell' coat down and now the cotton flock has been laid down for all the square corners. You'll also see extra around the flange edges. These are indentations, that I'm filling in that were formed on the other side, so that when the top and bottom are put together, they will 'key' together and fit right on the money.
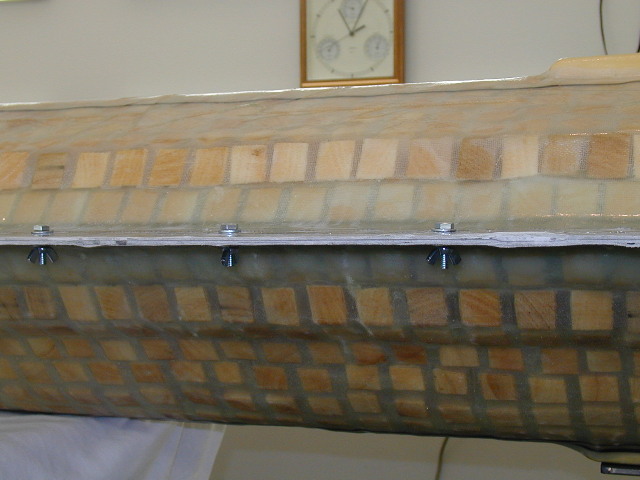
More of the world of blocks. Also laid in here are the anchor points for the legs that will be attached later.
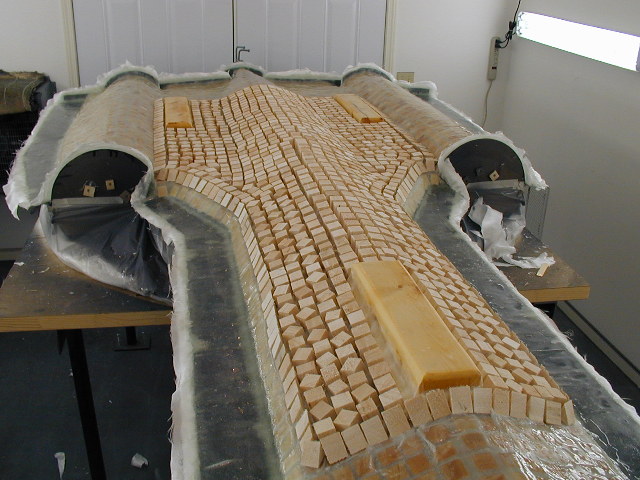
I thought this was an entertaining photo of way too many blocks. Also, you can see the bolts in place that are used for putting the 2 mold halves together down the road, but also drilled and put in place before it is initially disturbed. This shot was taken just after the rough part of the flange was cut off, and they were still in place to hold it solid, while I worked it over with a jigsaw.
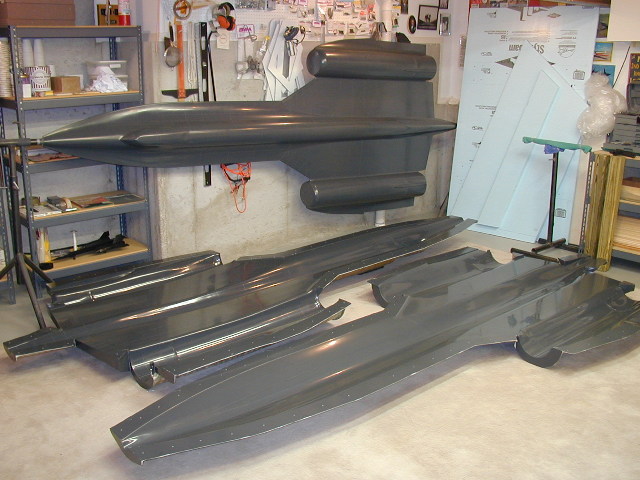
Now for the moment of truth. Last time it took us 3 hours to get the plug out of the mold. After a few minutes of pushing down on the nose, it started to cleanly come off.
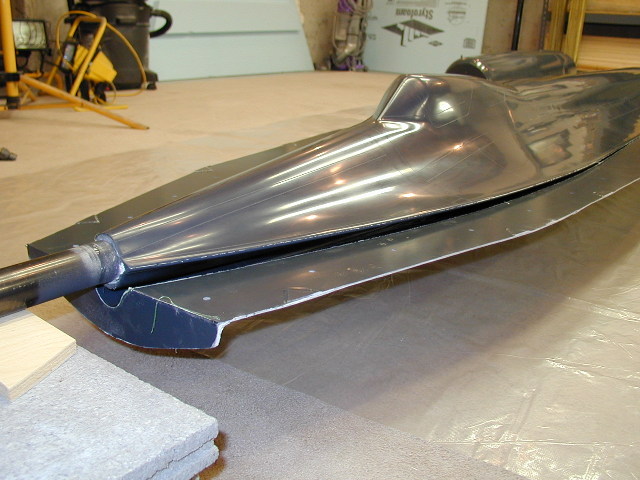
And a mere 10 minutes later the entire mold dropped free! It took us considerably less wrestling this time, presumably, because the bottom is relatively flatter than the top, would be my guess.
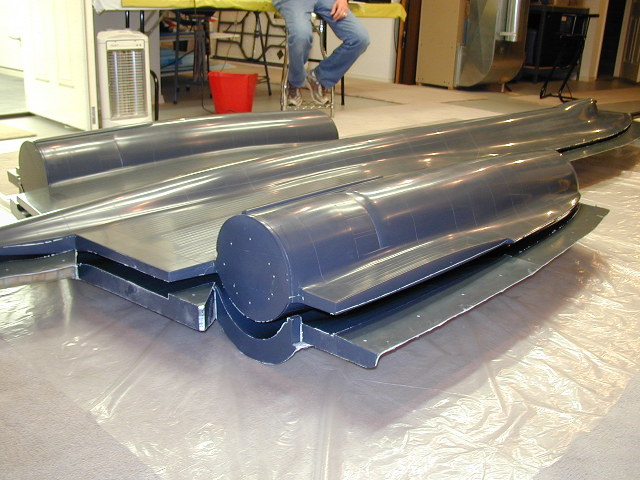
This is an interesting shot to show you the tint of the PVA left on the mold. The one on the right is the new bottom mold with the PVA still on it, and you can see the color difference.
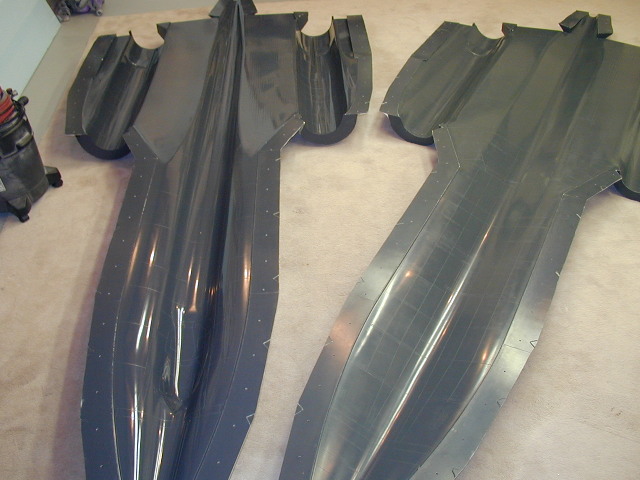
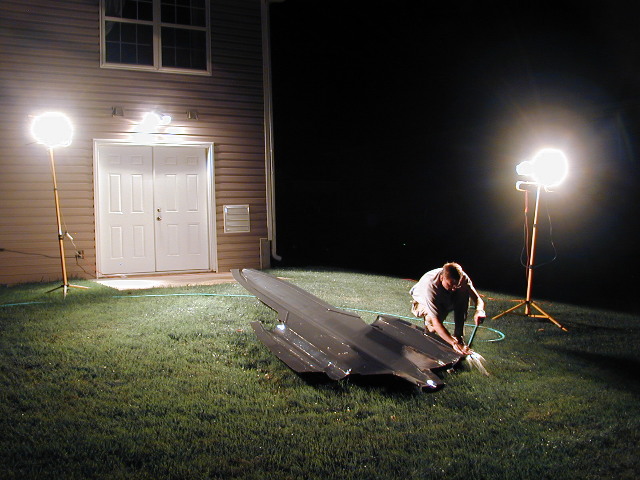
Back to the backyard and cleanup time.
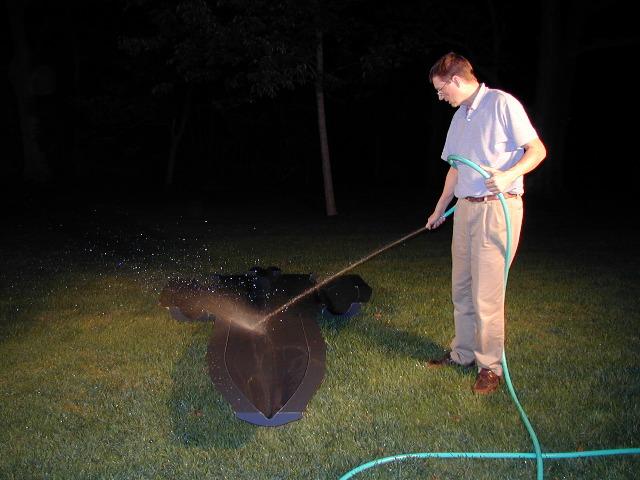
My neighbors must think I'm nuts. This was about midnight on a Friday night.
Did I mention I'm getting darned close to making an airplane? :-)
Head back to the Main Page