10/02/2002
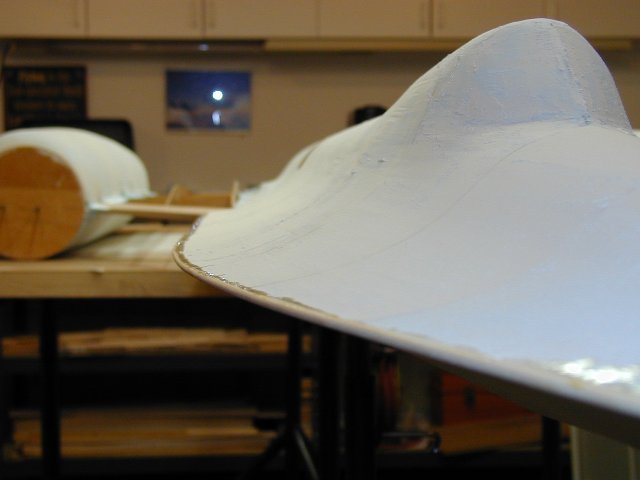
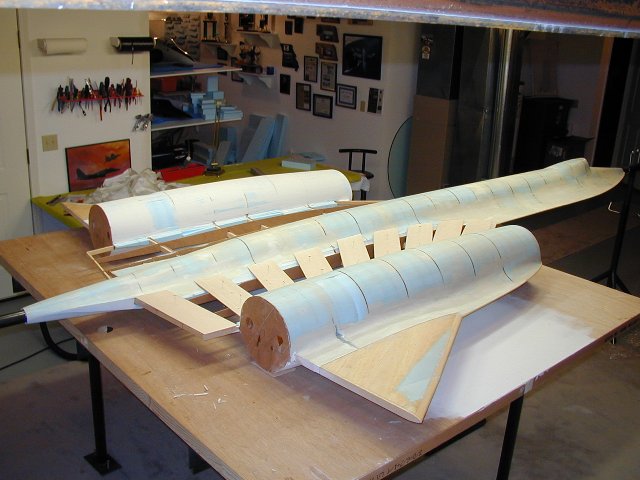
Progress continues, and although I know that I'm just getting started on filler and sanding, I can say blaahh. The fuselages have taken around 10 coats of filler and sanding just to get it to the point of being ready for the first layers of glass. This update shows some of the final work on the top, foam and filler, and the initial glass work on top. Also, the alignment table has to go back in, since we are gluing and glassing major elements
The edges on the chines had been carved down to almost a knife edge. That would have made it impossible to separate a mold off of, so we inset a wooden dowel to make for a nice uniform edge, all around. Then filled the fuse next to it, to flair it out.
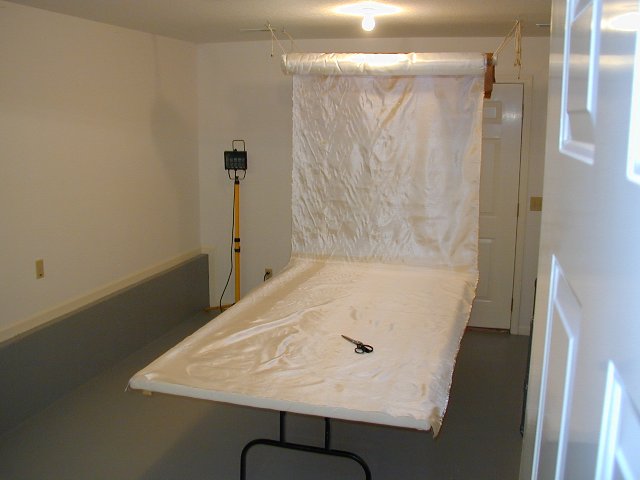
Finally!! Time to start playing with the glass cloth. The paint room, has been temporarily turned into the 'glass cutting room'. I set my rolls on hooks in the ceiling, and have been able to talk the wife into borrowing her sewing cutting table.
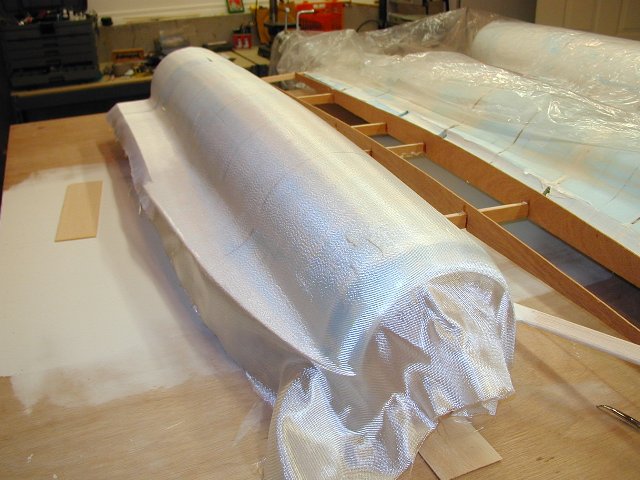
Laying the initial cloth on the main fuse.
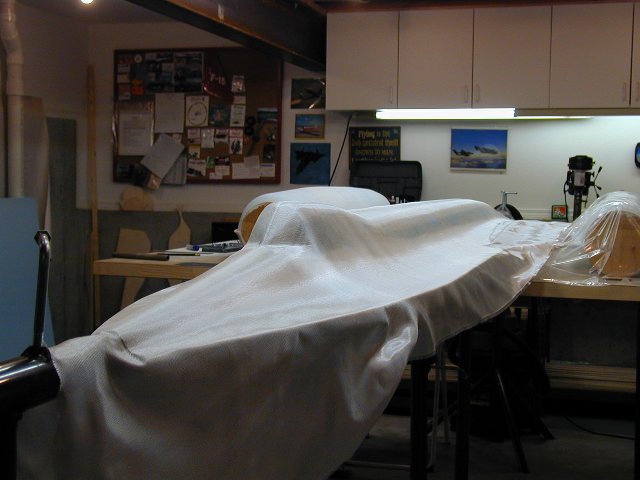
And now with it about 75% 'wet out' as the first epoxy resin goes on. Notice how the cloth starts to go clear, as it soaks in.
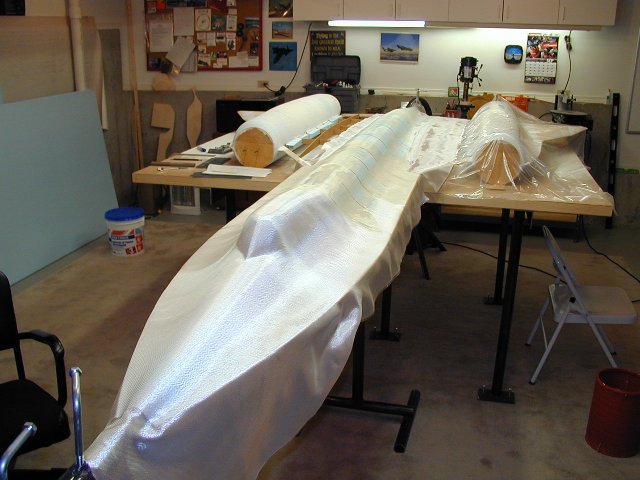
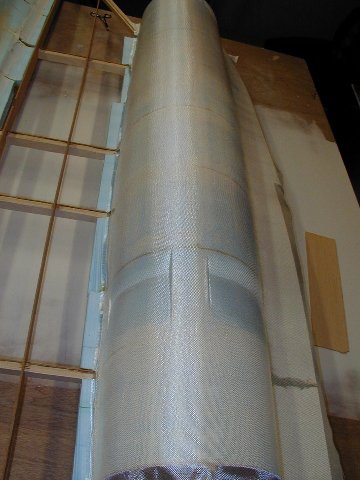
The next 2 shots are of getting the glass worked down over the right nacelle, including the indents in the rear, for what will be the 'blow in doors'.
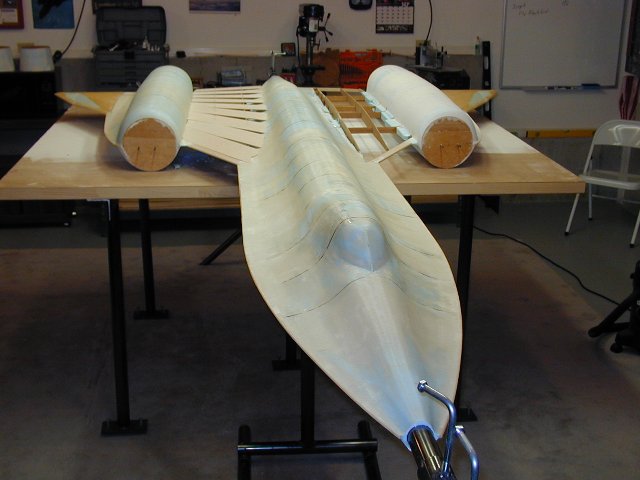
Lastly, as Jerry has been working on cutting in the 'blow in doors' on the left nacelle, I've just started the planking on the inside right wing. A task that could not be started until the initial glass was laid down on either side of it. The wing skin planks must be measured and spread out carefully like a peacock feathers, so that it follows the airfoil correctly
Head back to the Main Page