
12/30/2002
The Bottom
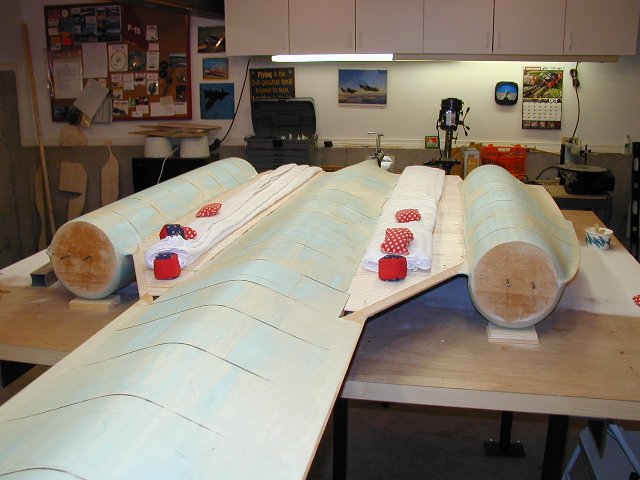
After months of work on the top, it was finally time to flip the critter over and get the bottom caught up. It was just like stepping backwards 3 months, and starting again on familiar territory. After much filling and sanding, we were once again ready to get the first glass cloth onto the bottom fuselages.
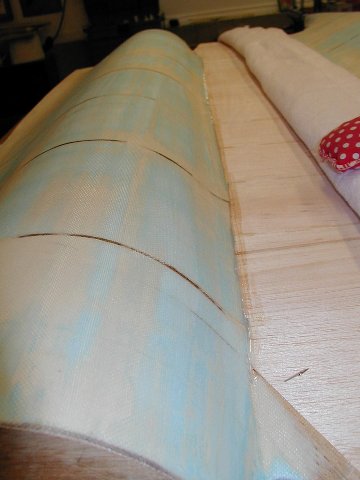
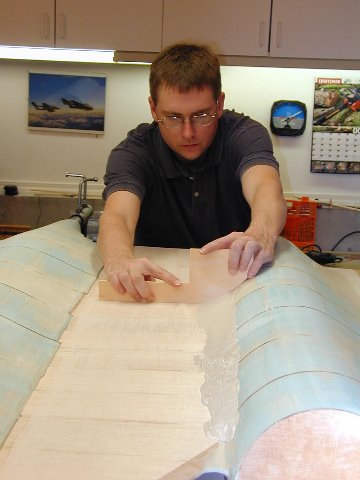
Once the glass was down, it was time to get the bottom wing decking on. I used the same technique as described on the top, except, I could just use simple straight planks, as the bottom airfoil is relatively flat.
Once the decks are glued to the ribs, a solid epoxy fillet is put in on both sides to anchor them as well.
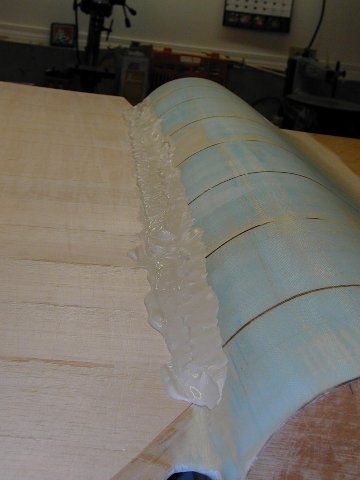
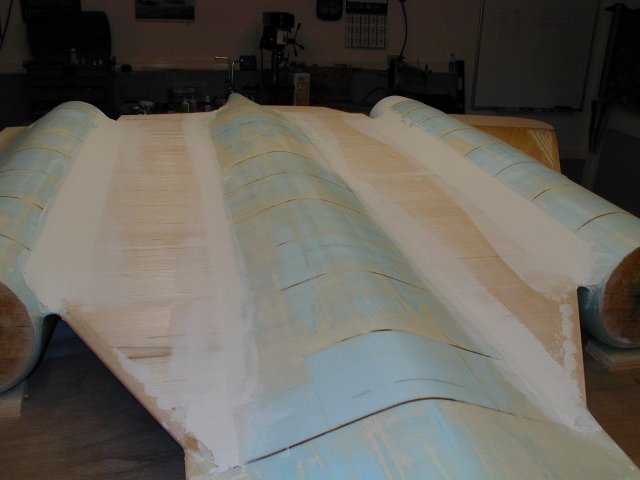
Once we saw exactly where the decking intersected the fuselages, it became apparent that there was a major discrepancy in how the bottom wing fillet looked. It needed to be built up significantly. After much head scratching we decided the simplest route was to use a ton of filler. Since at places it was ¾ in thick, this was going to take many coats, since every time it dried it would shrink back some.
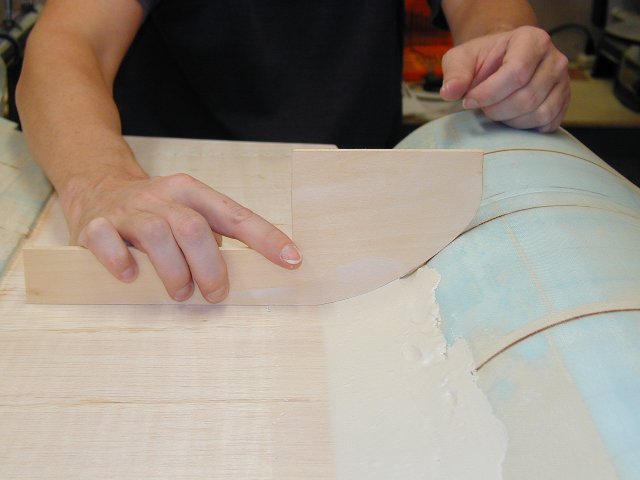
To make sure we were getting a consistent shape to the fillet, we fashioned a template to help shape them.
Much mud, and much dragging, for several weeks. Since it was so thick, the early coats took several days to dry out. I think there was at least 6-7 coats to get it built up correctly.
In the end it finally starts to look 'right'.
(Photo is upside down on purpose, as that lets you looks at it, right side up, if the plane were not upside down.) :-)
Nearly completed bottom deck and fillets.
Head back to the Main Page