3/31/2011
Finish Work
Where's the update been you ask? It's been back-seated to tons of work in the shop! :)
I'm starting to come to a close of all the design stuff. The last couple of these were making the clear parts of the canopy, and the pitot tube on the front of the plane. That's the first of this update. The rest starts getting into the finish work, such as the surface detailing, markings and painting. I'm going to admit that I have a goal of trying to make this year's flying season with it. I've conceded that a few smaller things won't be done to make that happen, such as a detailed cockpit for example, but those will come in due time. I'll also admit that making that goal is far from certain at this point too, but it won't be for lack of trying. I'm getting in at least several hours per day, and lots of bonus time on the weekends. This update will show how far I've come, and how far I've yet to go. To give you an insight into the insanity.... I've put on over 35,000 rivets so far, NOT COUNTING the fuselage.
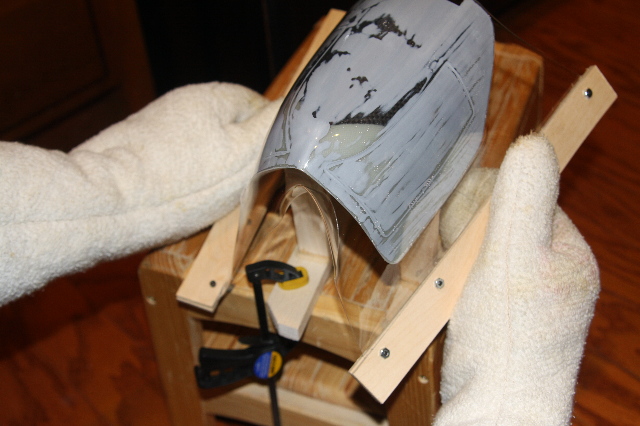
Fist pic in this update is showing the making the windows for the front canopy. I finally got one I was satisfied with, but not without some nearly burnt hands by holding this in the oven, then taking it out quickly to try to form it. A tiny amount of the fiberglass weave got imprinted on the glass, but it's pretty faint. Somewhere down the road, I'll go back to the original fuse mold, and make a dedicated canopy glass plug, and have good ones vacuum molded from it, but this will do for now.
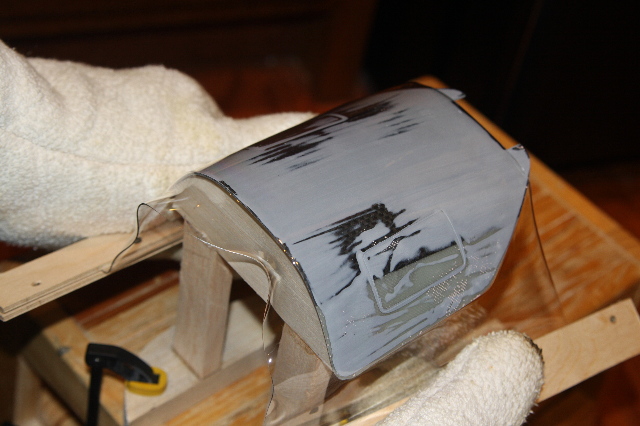
Second shot of making the back windows. These were much easier, as the amount of compound curvature was much less.
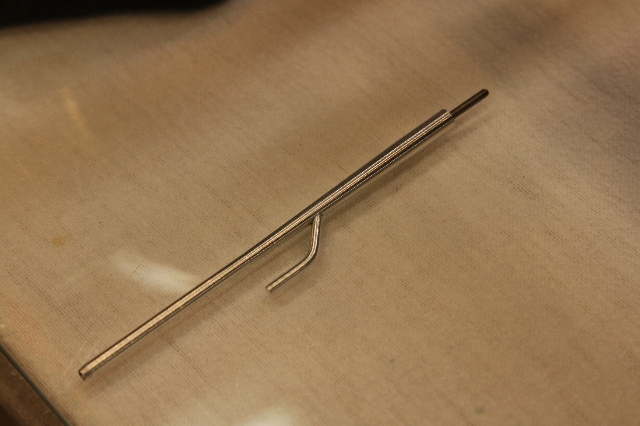
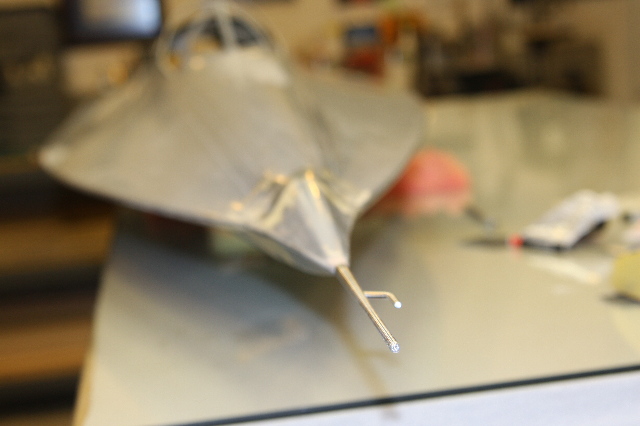
Next up was the pitot tube. On the real bird it is quite a distinctive feature, with its 2 points sticking out. The one straight ahead is the air pressure in and the side one is for static measurement.
Once the pitot tube was made, I machined down a super thin threaded insert and glued in the very tip of the fiberglass nose. Because the side pitot tube sits exactly straight out on the left side, I had to grind back the nose to just the correct point on the threads so that when you tighten down the pitot tube it would be in the correct position. I jigged up my dremmel with a cutoff wheel , and then brought the nose into it, so I'd get a perfect square cut, in a very controlled manner.
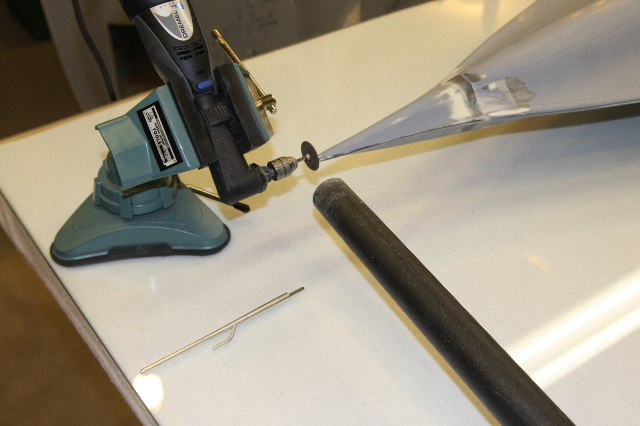
Final results look great I think.
Now, on to painting. 19 of the parts required a metallic silver on the inside of them, such as insides of gear doors, the pitot tube, insides of the canopies, or the tips of the inlet spikes for example. Here's the shot of the night of silver.
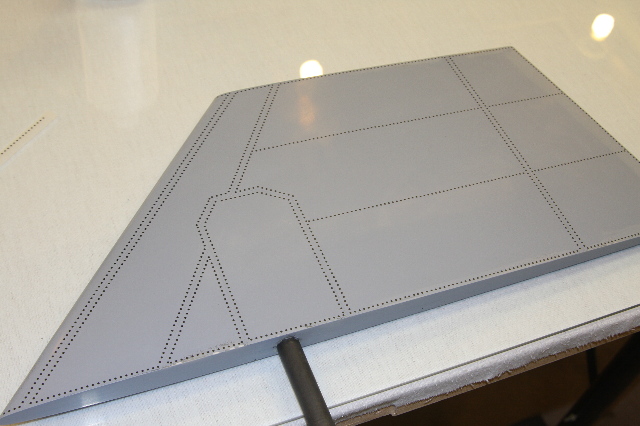
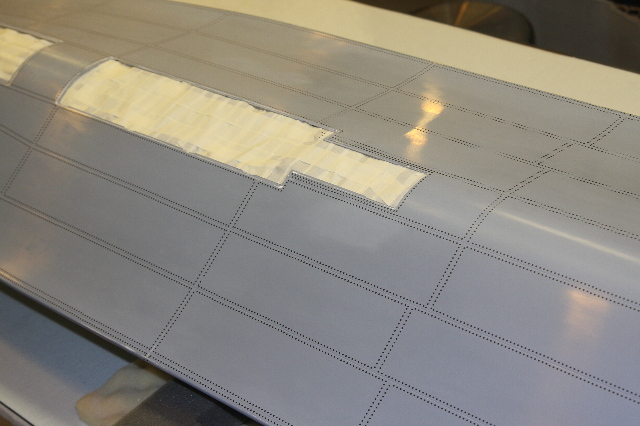
Once that was done, it was finally time to get started on the outsides of parts. The next 3 photos show a technique that is working quite well. The dots you see are dry transfer rivets, but 3x thicker than normal dry transfers. They leave a bump just about the right size. But they go UNDER the color paint, markings, and clear coat. I've gotten pretty decent at putting them on, and can do around a thousand per hour. So far, 35,000 are on, and that's before the 2 big fuse pieces have been done.
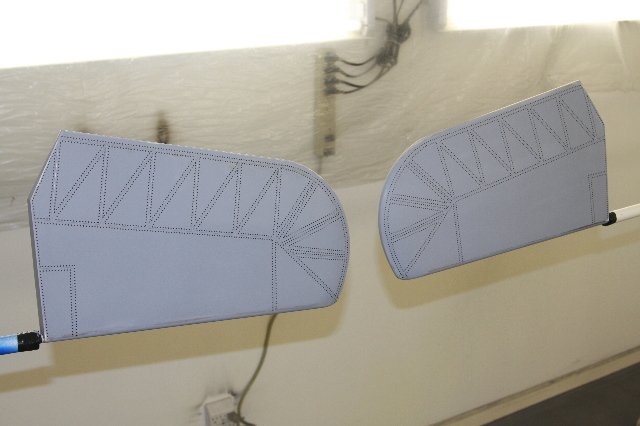

Here's a close up shot on one of the rudders, to show how good these rivets look, when under the paint and markings. This is before any weathering efforts, which will really make them look great.
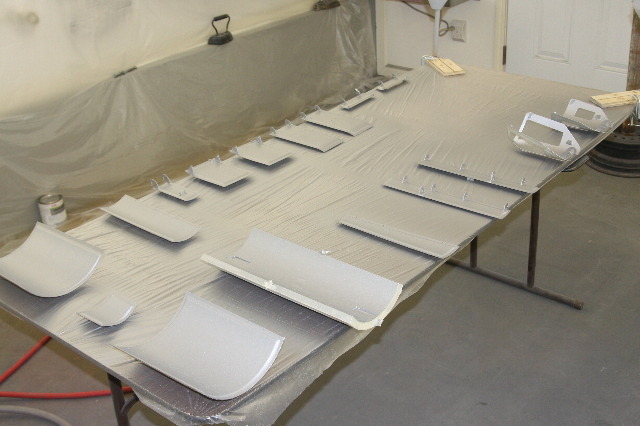
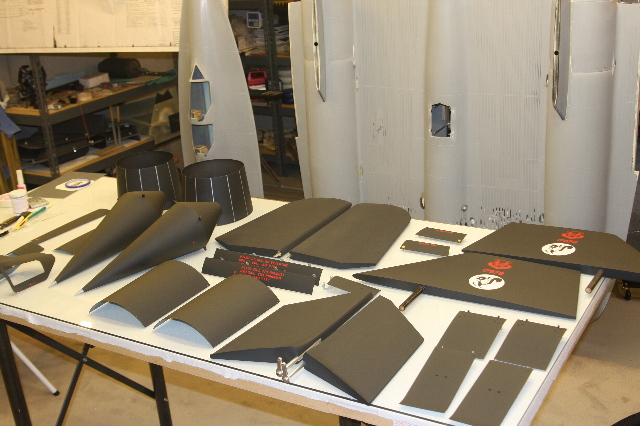
Here you see 26 parts, all done and ready for assembly. Not pictured are the 2 wings, which were in the paint room about ready to be shot black. Masking off a small part for painting and all of it's fittings take almost as long as masking off a big fuse part, so I'm quite happy to have the small parts all done.
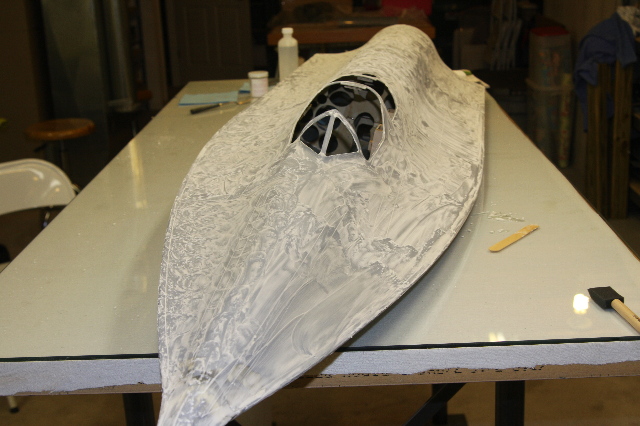
At this point I've only got the 2 big fuse parts to get painted. One thing that came out the work with the small parts, was that where I had sanded through the primer in my construction work, I was now being plagued by hundreds of very aggravating pin holes showing up in the paint. I finally learned a technique to solve this, but not without a couple weeks of set back on the smaller parts. Here you see the entire fuse nose being prepped with BVM's pinhole filler. After this cures and is rubbed off with a paper towel, I then hand touch up primer on anywhere it filled pin holes, resand it back down, and then I'm ready to move on.
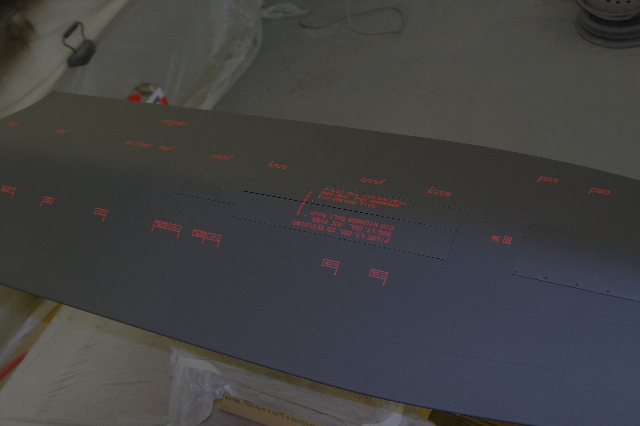
Bottom of the nose, riveted and ready for black.
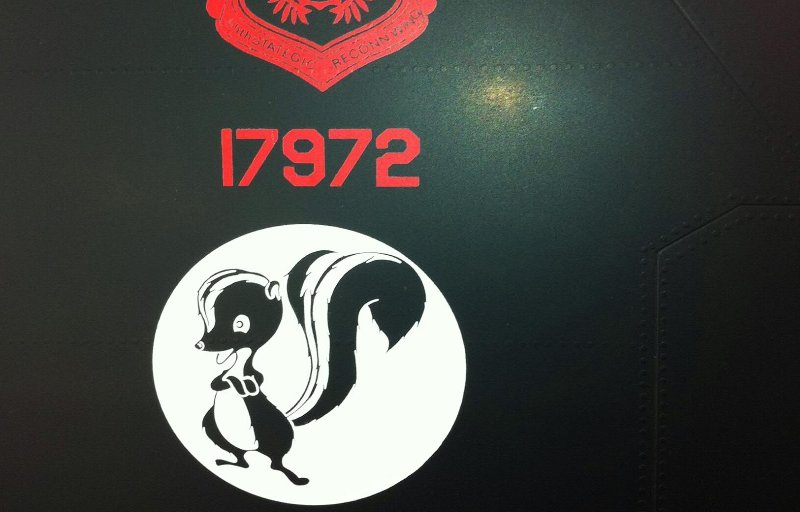
Bottom of the nose, with markings applied over the black, and clear coat done. I just set the gear doors and other hatches on there so I could enjoy a nice feeling of accomplishment, and to confirm that the black and clear were all coming out the same as they should. I have to admit, that shooting a good flat clear, is 2-3 times harder than shooting a good gloss clear. An extra challenge in this is that to retain the rivet detail through 2 coats of paint, they both have to be feather thin. So far so good, but it's quite the challenge.
Head back to the Main Page